Mastering the Timeline
Let's be honest — baking sourdough takes time. Like, days. So the last thing you want is to get to the mixing bowl and realize you don't know whether your starter is actually ready, or to spend 24 hours on a loaf that comes out flat and dense. This guide walks you through the entire process, start to finish, with the exact numbers and the sensory checks you need at each step. No Dutch oven required if you don't have one — I'll show you both paths.
What You Need Before You Start
Precision is the difference between a loaf and a masterpiece. While cup measures are provided, we strongly encourage using a digital scale for the most consistent results.
75% Hydration Formula
| Ingredient | Grams | US Customary |
|---|---|---|
| Active Sourdough Starter | 100g | 1/2 cup |
| Warm Water (80°F) | 350g | 1 1/2 cups |
| Bread Flour | 500g | 4 cups |
| Fine Sea Salt | 10g | 2 tsp |
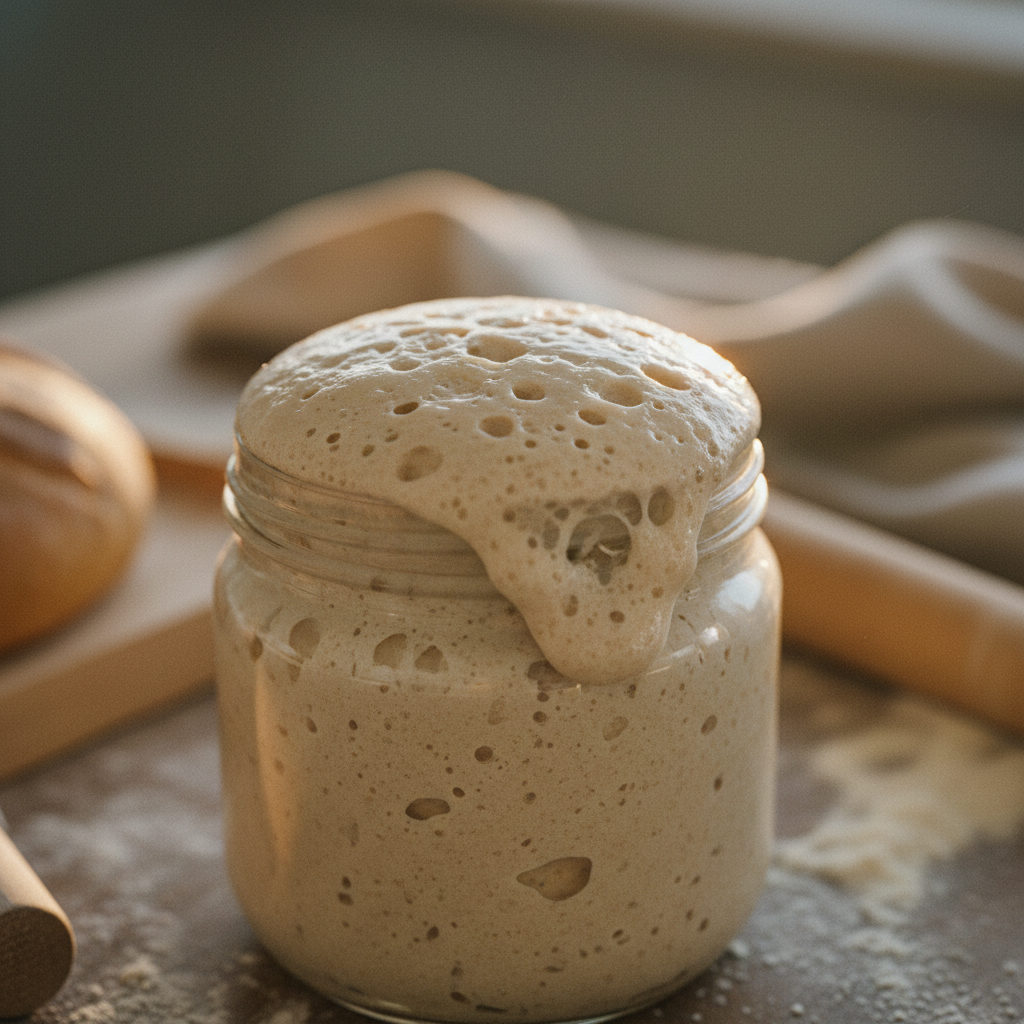
Your starter should look like this: bubbly, active, and domed.
The 7-Step Sourdough Process
A Narrative Journey from Starter to Slice
Check Starter Readiness
Your starter should be bubbly, domed, and at its peak. Perform the 'float test': drop a teaspoon of starter into water; if it floats, it's ready.
Ensuring maximum liftMix the Dough
Combine starter and water, then stir in flour and salt until no dry streaks remain. Let rest for 30 minutes.
Bulk Fermentation
Keep the dough in a warm spot (75-80°F) until it increases in volume by about 50% and looks aerated.
Stretch and Fold
Every 30 minutes for the first 2 hours, perform a set of stretches and folds to build strength.
Shaping
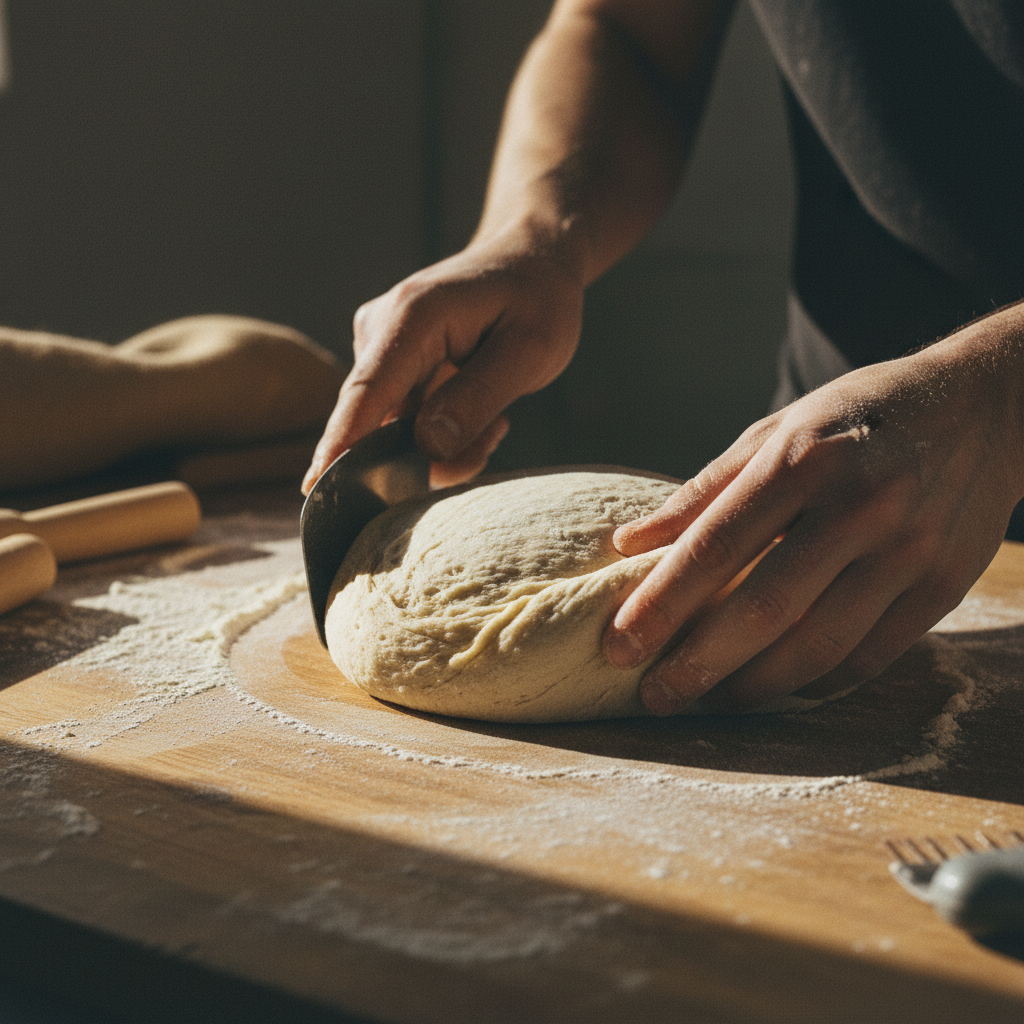
Gently tension the dough into a round or oval. Use a bench scraper for a tight skin, then place in a floured banneton.
For a beautiful 'ear'Final Proof & Baking
The Dutch Oven Path
Preheat oven and pot to 500°F for 1 hour. Score the dough, place in pot, and bake covered at 450°F for 20 mins. Remove lid and bake for 20-25 mins more until deep golden brown.
The Open Bake Path
Place a baking stone on the middle rack and a steam pan below. Preheat to 500°F. Load dough, pour boiling water into the steam pan, and bake as directed above.
Cooling
Resist the urge to cut! Let the loaf cool on a wire rack for at least 2 hours to allow the internal crumb structure to set.
When Something Goes Wrong
Sourdough is a living thing. Variations in flour, water, and heat mean every bake is an experiment. Here is how to diagnose common setbacks.
The loaf came out flat and dense.
The most common cause is an underactive starter. Before mixing, your starter should be bubbly and domed. If it floated but still failed, check your bulk fermentation—watch the dough, not the clock.
The dough is impossibly sticky.
A small amount of stickiness is normal at 75% hydration. If unworkable, chill in the fridge for 15 minutes. Use damp hands and a bench scraper rather than adding more flour.
There's no 'ear' and scoring looks ragged.
Score cold dough straight from the fridge. Use a razor-sharp blade at a 30° angle and commit to a single, deep cut. Hesitation creates drag.
Keep Track of What Works
Every bake teaches you something—but only if you write it down. Get our free Baker Recipe Notes Template to log your starter activity, temperatures, and timing.
Common Questions from the Community
Sourdough vs. Yeast
"Sourdough relies on wild yeast—the leavening is slower, the flavor is more complex, and the timeline is measured in hours rather than minutes."
Pro Tip
Expert Guide
The Secret to Scoring
"The overnight refrigerator proof makes the loaf much easier to score, helps develop flavor, and lets you control your schedule."
Baker's Secret
Pro Tip
Ready to explore more rustic recipes?
Free tips and tutorials for every skill level. Check out our full Sourdough Category for more advanced techniques.
Visit the Recipe Index