Why bakery cookies are thick, crisp-edged, and gooey in the middle
Bakery cookies are not a secret formula. They are the same butter, sugar, flour, egg, and chocolate you already have, handled so the dough stays cold and the oven stays hot. Three levers do almost all of the work.
Dough temperature. Butter starts to melt around 90°F (32°C). When the dough is warm, the fat liquefies before the flour and egg have set, and the cookie slumps into a thin, greasy disc. Cold dough buys time: the edges set while the middle is still soft.
Dough strength. A little extra flour or a spoonful of cornstarch gives the dough something to hold on to. Too little structure and the cookie cannot stay tall. Too much and it turns cakey.
Heat and pan behavior. A hot oven sets the edges fast, and tapping the sheet mid-bake knocks the puffed center down into those ripples you see in bakery cases.
Size matters just as much. A bakery cookie is 3 to 4 tablespoons of dough, about 85 grams. Small scoops dry out before the center turns gooey.
What you need, and what each ingredient is doing
This makes 12 large cookies. The notes explain the job each ingredient does, so you can adjust with intent instead of guessing.
- 1 cup (227 g) unsalted butter. Melted and cooled, or browned for a deeper toffee flavor. Melted butter makes a chewier cookie than softened butter, as long as the dough is chilled before baking.
- 1 1/4 cups (250 g) packed light brown sugar. Moisture and molasses. This is where the chew and the caramel note come from.
- 1/2 cup (100 g) granulated sugar. Helps the edges crisp and brown.
- 1 large egg plus 1 large egg yolk. The extra yolk adds fat and emulsifiers that keep the center soft.
- 2 teaspoons vanilla extract.
- 2 3/4 cups (330 g) all-purpose flour. Spoon it into the cup and level it off. A packed cup can add 20 percent more flour, which is the usual reason home cookies turn cakey.
- 2 teaspoons cornstarch. Tightens the dough just enough to limit spread.
- 1 teaspoon baking soda. Reacts with the acidity in the brown sugar and helps the cookies lift.
- 3/4 teaspoon fine salt. Without it, the cookies taste flat no matter how much chocolate you add.
- 2 cups (340 g) chocolate chunks, or a chopped bar. Chunks and shards melt into streaks. Chips hold their shape, which looks tidy but tastes less like a bakery cookie.
For a chewier bite, swap half the all-purpose flour for bread flour.
The full method, step by step
Here is the order that matters, and the checkpoints that tell you it is working.
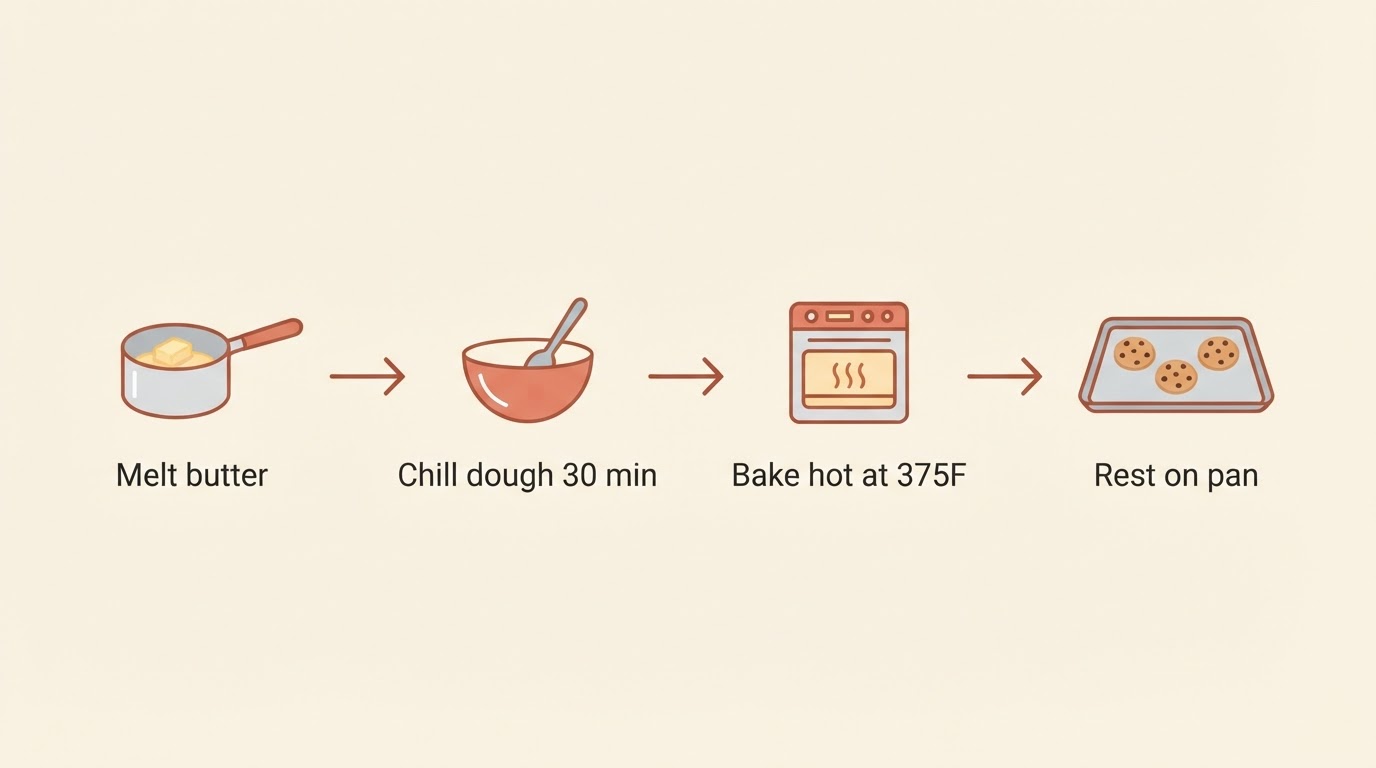
- Brown the butter, if you want the good version. Cut the butter into pieces and melt it in a light-colored saucepan over medium heat, swirling, until the milk solids turn amber and smell nutty, 5 to 7 minutes. Pour it into a large bowl, scrape in the browned bits, and cool for 10 minutes. To skip this step, melt the butter and let it cool until it is warm, not hot.
- Whisk in both sugars. Add the brown and granulated sugars and whisk for a full minute, then let the mixture sit for 5 minutes. The warm butter dissolves some of the sugar and the texture turns glossy.
- Add the egg, the yolk, and the vanilla. Whisk until the mixture is smooth and slightly lighter in color.
- Combine the dry ingredients in a second bowl. Flour, cornstarch, baking soda, and salt. Whisk for 20 seconds.
- Fold the dry into the wet. Switch to a spatula or a wooden spoon and stop the moment no dry streaks remain. Overmixing develops gluten, and gluten makes tough cookies.
- Stir in the chocolate. The dough will be soft and a little shiny. That is right.
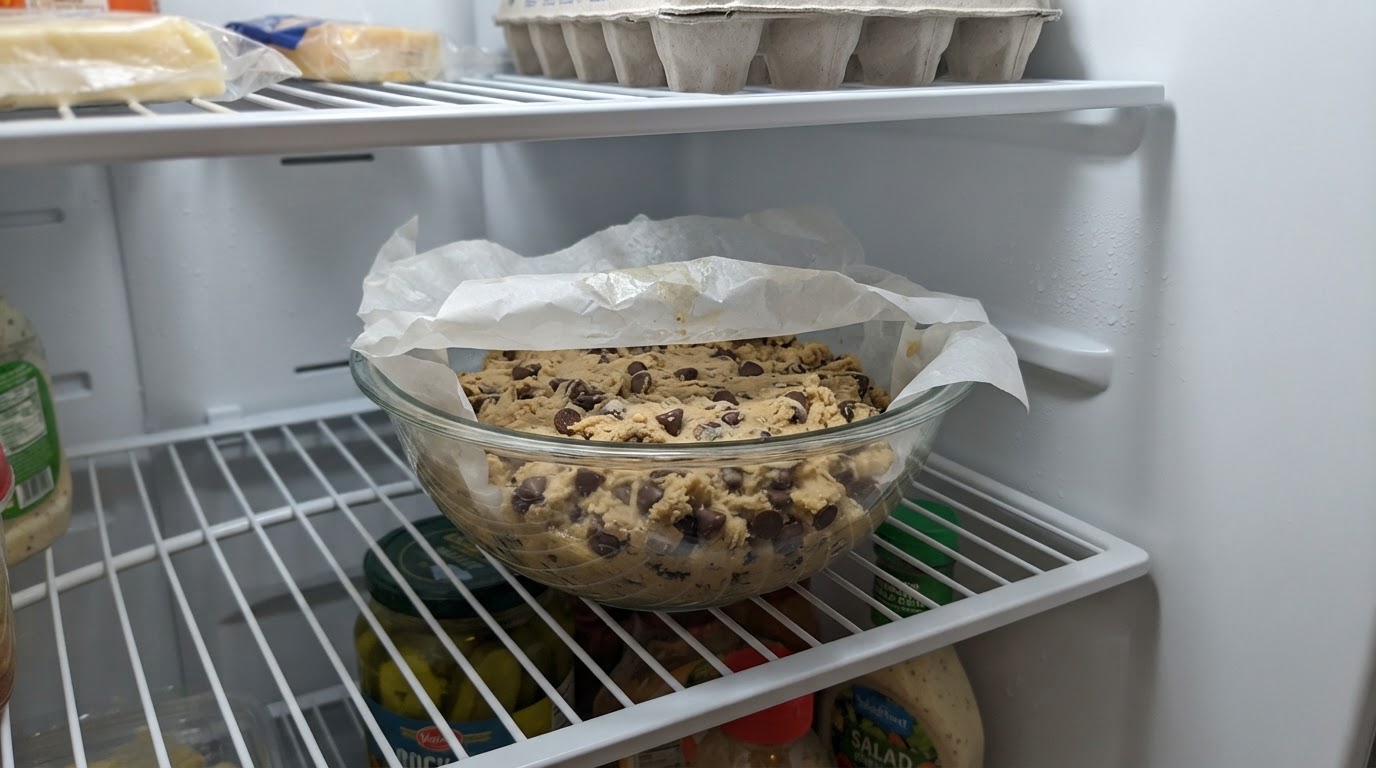
- Chill the dough for at least 30 minutes, and up to 3 days. This is the biggest single upgrade in the recipe. Cold dough spreads less, and the flour has time to hydrate, which deepens flavor and improves texture.
- Heat the oven to 375°F (190°C), with a rack in the middle, and let it preheat for a full 20 minutes.
- Portion the dough into balls about the size of a small plum, 3 to 4 tablespoons each. Roll them loosely and do not pack them. Space six per sheet.
- Bake for 10 to 12 minutes. The edges should be set and golden, and the centers puffed and still glossy. They will look underdone. That is the point.
- Tap the sheet, then leave the cookies alone. At the 9-minute mark, lift the sheet about 2 inches and drop it once onto the rack to deflate the centers. Then leave the cookies on the hot sheet for 10 minutes to finish setting.
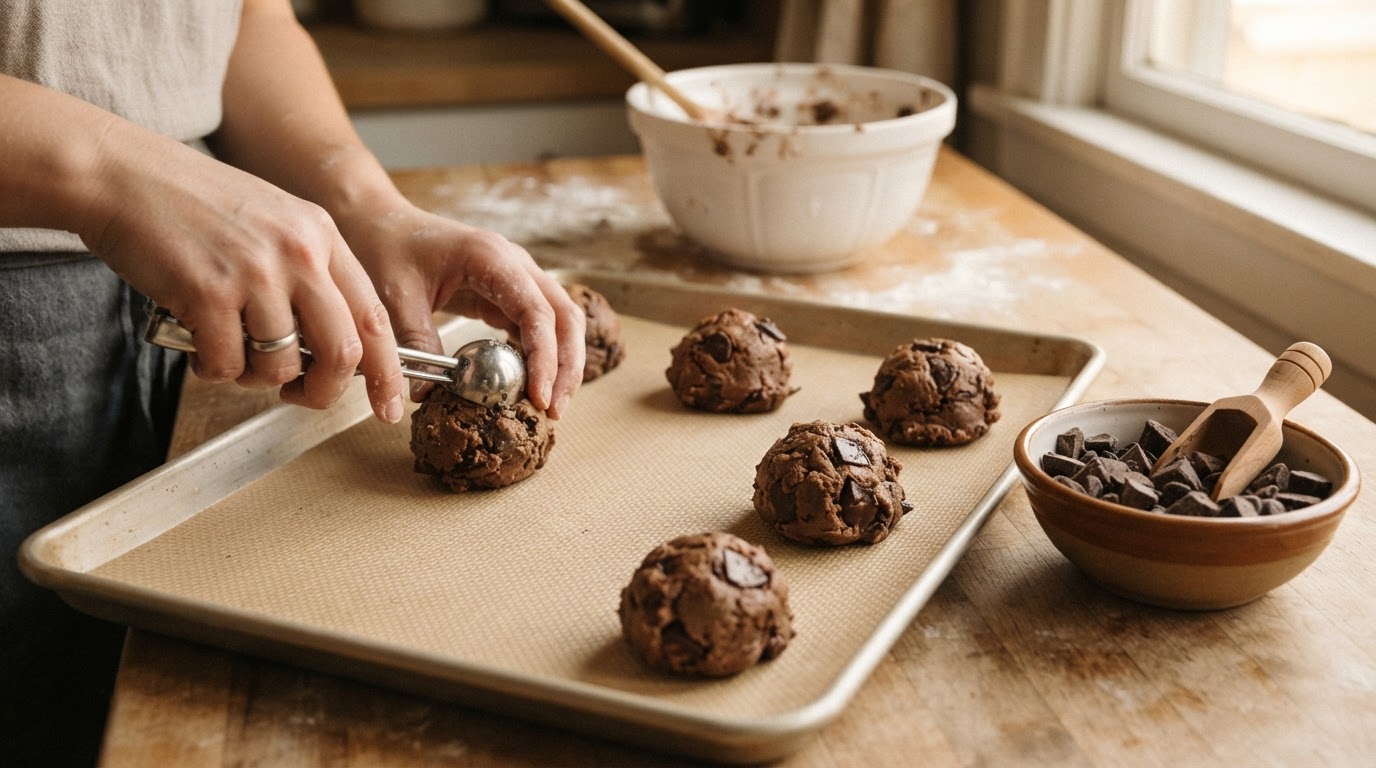
Your checkpoint for every batch: a finished cookie is firm at the rim and soft in the middle, and it firms up as it cools. If it is already firm when it leaves the oven, it will be hard an hour later.
How to make these with no special equipment
Every step above works with what is already in a normal kitchen.
- No stand mixer: a large bowl, a whisk, and a sturdy spoon are enough. The dough is soft, so it never needs heavy mixing.
- No cookie scoop: two spoons or a 1/4-cup dry measure get you to 3 to 4 tablespoons. Roll with your hands to even out the shape.
- No kitchen scale: spoon the flour into the cup, then level it with the back of a knife.
- No parchment paper: a silicone mat or a light-colored ungreased baking sheet works. Dark nonstick pans brown the bottoms faster, so check a minute early.
- No room in the fridge: chill the portioned dough balls on a sheet in the freezer for 30 minutes, then bake them straight from frozen.
- No oven thermometer: preheat for a full 20 minutes and bake one sheet at a time. Most home ovens run cool, and an underheated oven is the fastest way to flat cookies.
Why your last batch spread, and what to change
What you see | What is happening | What to change |
|---|---|---|
Thin, greasy puddles | The dough was warm or the sheet was still hot | Chill the dough for 30 minutes, cool the sheets between batches, and never set dough on a warm pan |
Cakey, dry tops | Too much flour, or a few minutes too long in the oven | Spoon and level the flour, and pull the cookies while the centers still look soft |
Crisp all the way through | Small portions and a long bake | Use 3 to 4 tablespoon portions and start checking at 9 minutes |
Pale, greasy centers | The oven never reached temperature | Preheat for 20 minutes and check the dial with an oven thermometer |
Uneven browning | A dark or thin pan, or two sheets at once | Use a light aluminum pan and bake one sheet on the middle rack |
Make ahead, freeze, and reheat
Cookie dough is one of the few things that improves with a rest, so this recipe is built for planning ahead.
- Freeze the dough. Portion the balls, freeze them in a single layer, then move them into a bag for up to 3 months. Bake from frozen at 350°F (175°C), adding 2 to 3 minutes to the timer.
- Refrigerate the dough. Up to 3 days, covered. The cookies get a deeper caramel flavor on day two and three.
- Store baked cookies. Airtight for 3 days. A slice of bread in the container keeps them soft.
- Bring them back. Three minutes at 300°F (150°C), or about 10 seconds in the microwave, makes a day-old cookie taste fresh again.
A shorter path when you want a tested recipe
The Rustic Bakehouse's Cookies collection covers from-scratch cookie recipes, including its Simple Matcha White Chocolate Cookies, which lists eight ingredients, makes about 24 cookies, and bakes in 10 to 12 minutes with each ingredient's role explained. That recipe also calls for a 30-minute chill before baking, for exactly the reason described above. Work through the method once and the technique is yours; when you would rather follow a recipe that already has the numbers written down, that collection is the shorter route.