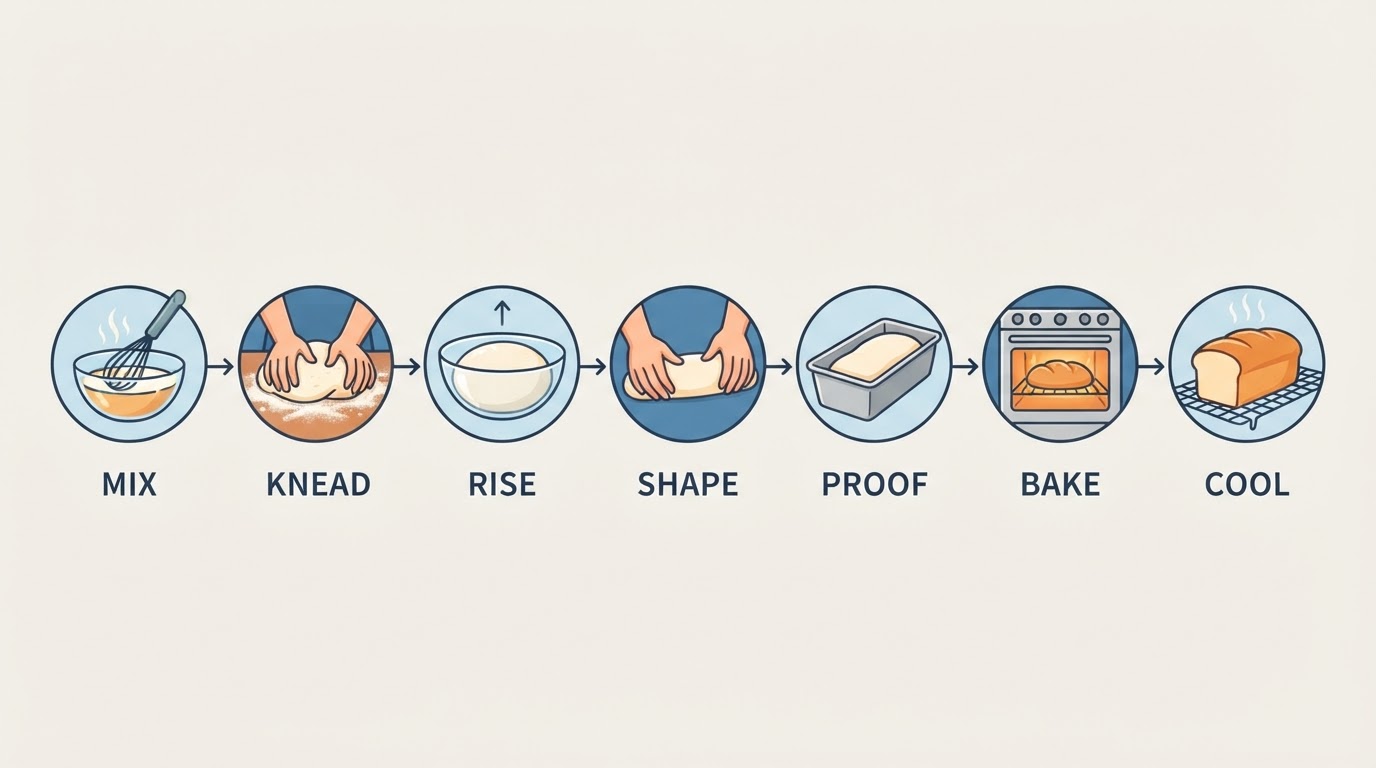
What Makes Brioche Different From Everyday Bread
Brioche is an enriched dough, which means eggs, milk, sugar, and a generous amount of butter get worked into the flour. That fat is what gives a finished loaf its close, tender crumb, its deep golden crust, and its faintly sweet, almost cake-like flavor. The same enrichment is why a good brioche feels luxurious next to a plain white loaf — and why it frustrates so many first attempts.
There is a trade-off worth understanding before you start. Fat coats the flour proteins and slows down gluten development, so the dough starts out slack, sticky, and slippery, and it stays that way for the first several minutes of kneading. Bakers who try to fix that stickiness with extra scoops of flour end up with the most common brioche failure there is: a dry, tight, dense loaf. The dough is supposed to feel soft. Instead of adding flour, you chill the dough and let time do the work. That one shift in expectation turns brioche from a fussy project into a reliable weekend bake.
Because the dough is rich, it also rises more slowly than a lean bread dough, and the cold rest in the fridge is not a delay — it is part of the method. Cold dough is firm enough to shape, and the long rest builds flavor while it firms the butter back up.
What You Need Before You Start
This formula makes one standard 9-by-5-inch loaf, about 10 to 12 slices.
Ingredients
- 360 g (3 cups) bread flour, plus a little for dusting — all-purpose flour works too, with a slightly softer result
- 50 g (1/4 cup) granulated sugar
- 7 g (2 1/4 teaspoons, or one packet) instant or active dry yeast
- 9 g (1 1/2 teaspoons) fine sea salt
- 4 large eggs, at room temperature (about 200 g out of the shell)
- 120 g (1/2 cup) whole milk, lukewarm
- 170 g (3/4 cup) unsalted butter, very soft but not melted
- 1 egg beaten with 1 tablespoon milk, for the wash (optional)
Equipment
- A large mixing bowl and a sturdy spoon, plus a dough scraper or spatula
- A kitchen scale, if you have one — it removes almost all the guesswork
- Plastic wrap or a shower cap for covering the bowl
- A 9-by-5-inch loaf pan, parchment paper, and a cooling rack
- A stand mixer with a dough hook if you own one; your hands work fine without it
Time, roughly
- 30 to 40 minutes of active work
- 1 to 1 1/2 hours for the first rise
- 2 hours to overnight in the fridge
- 1 1/2 to 2 1/2 hours for the final proof
- 35 to 45 minutes in the oven
How to Mix Brioche Dough Step by Step
1. Warm the milk. Heat it to about 100°F (38°C) — comfortably warm on your wrist, never hot. If it is too hot to hold a finger in, it will slow the yeast down or kill it.
2. Combine the dry ingredients. Whisk the flour, sugar, yeast, and salt together in a large bowl. If you are using active dry yeast rather than instant, dissolve it in the warm milk first and let it sit for five minutes until foamy.
3. Bring the dough together. Add the eggs and the warm milk to the dry ingredients and stir until you have a shaggy, sticky mass with no dry flour left.
4. Knead to a soft dough. Turn the dough out and knead for 5 to 8 minutes. It will feel sticky and a little uncontrollable. Resist the urge to add flour; a light dusting on your hands and the counter is enough.
5. Work in the butter, a few pieces at a time. This is the step that decides your loaf. Flatten the dough, press about a third of the softened butter into it, fold the dough over, and knead. It will look greasy and broken for a minute or two. Keep going. Add the next third only when the previous one has disappeared into the dough. In a stand mixer this takes 8 to 12 minutes on medium speed; by hand it takes longer, and that is completely normal.
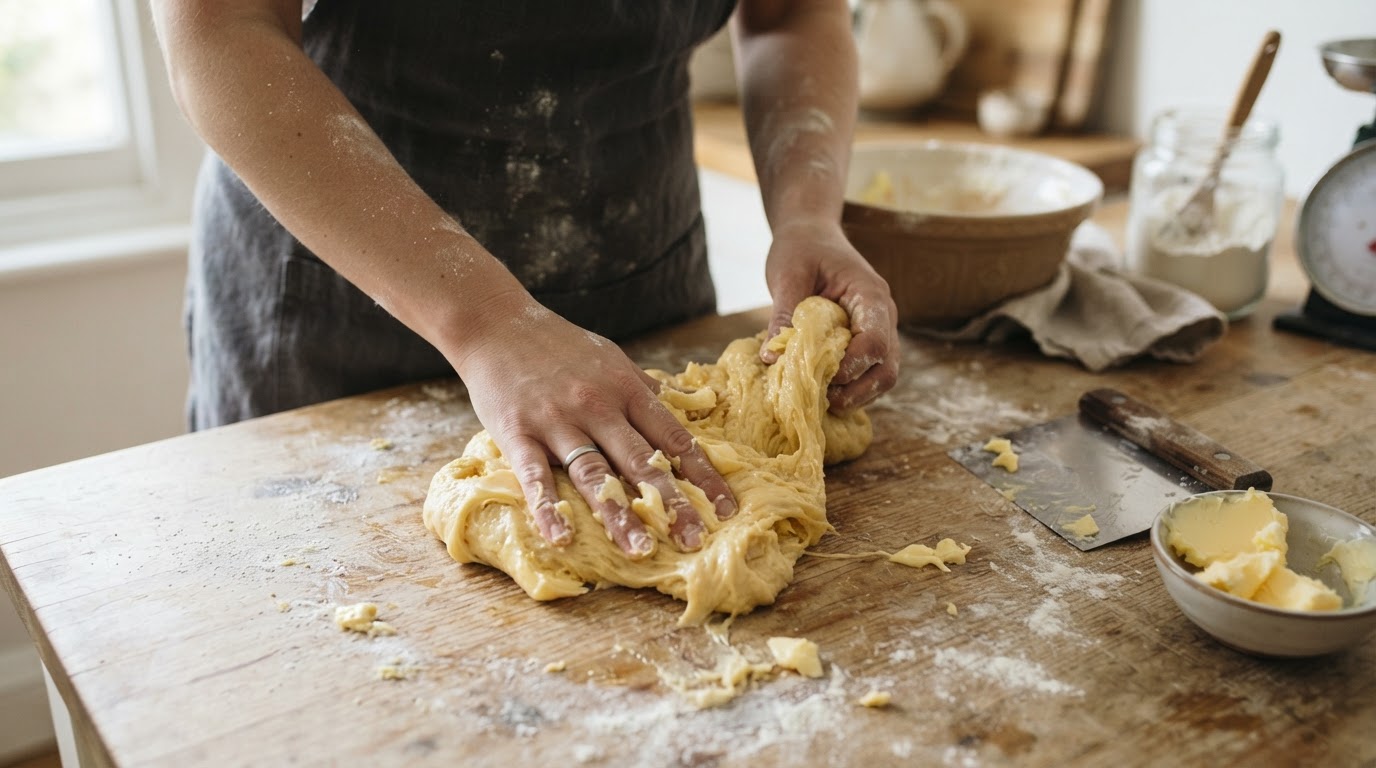
6. Check for a windowpane. Pinch off a walnut-sized piece and stretch it gently with your fingers. If it pulls into a thin, translucent membrane that lets light through without tearing, the gluten is developed. If it tears right away, knead for two more minutes and check again.
7. Rise, then chill. Shape the dough into a ball, cover the bowl, and let it sit at room temperature until it looks puffy and has grown by about half. Then press the dough down, cover it again, and refrigerate it for at least 2 hours — overnight is better.
If the dough still feels greasy and refuses to come together after 12 minutes of mixing, the butter or the kitchen was too warm. Slide the bowl into the fridge for 20 minutes, then continue. Cool butter re-absorbs into the dough far more easily than warm butter that has started turning to oil.
How to Make Brioche Dough Without a Stand Mixer
You do not need a special tool to make brioche. A bowl, a spoon, and your hands will get you a soft, buttery loaf — the trade-off is about 15 extra minutes of active work and a little more patience with the butter.
Mix by hand. Stir the flour, sugar, yeast, salt, eggs, and milk with a sturdy spoon until the dough comes together and no dry flour remains. It will be rough and shaggy, and that is exactly right.
Knead the base dough. Turn it onto a lightly dusted counter and knead with the heel of your hand for about 10 minutes, folding the dough over itself, pushing it away, then rotating it a quarter turn. Rest for 5 or 10 minutes if your arms need a break; the dough will not mind.
Add the butter with a smear-and-fold. Flatten the dough into a rough rectangle. Smear a third of the soft butter across the surface, fold the dough in thirds like a letter, and knead until the butter disappears. Repeat twice more. Expect the dough to slide around and look messy for the first minute; gather it back with a scraper or spatula and keep folding. This takes 15 to 20 minutes in total.
Try slap-and-fold if the dough sticks. Lift the dough with both hands, slap it down on the counter, fold it over itself, and rotate. Do this for 5 to 8 minutes, rest the dough for 10 minutes, then repeat once or twice. Slapping builds strength quickly and keeps the dough moving through your hands instead of gluing itself to the counter.
Chill whenever things get greasy. On a warm day, a 15-minute rest in the fridge between kneading rounds makes hand mixing dramatically easier.
Finish both methods the same way: stop when the dough passes the windowpane test, then give it its rise and its cold rest. Hand-made dough often needs a slightly longer chill to firm up, so give it the full 2 hours at minimum.
How Long to Rise and Chill Brioche Dough
Enriched dough is ready when it tells you, not when the clock says so — but these ranges are a useful map.
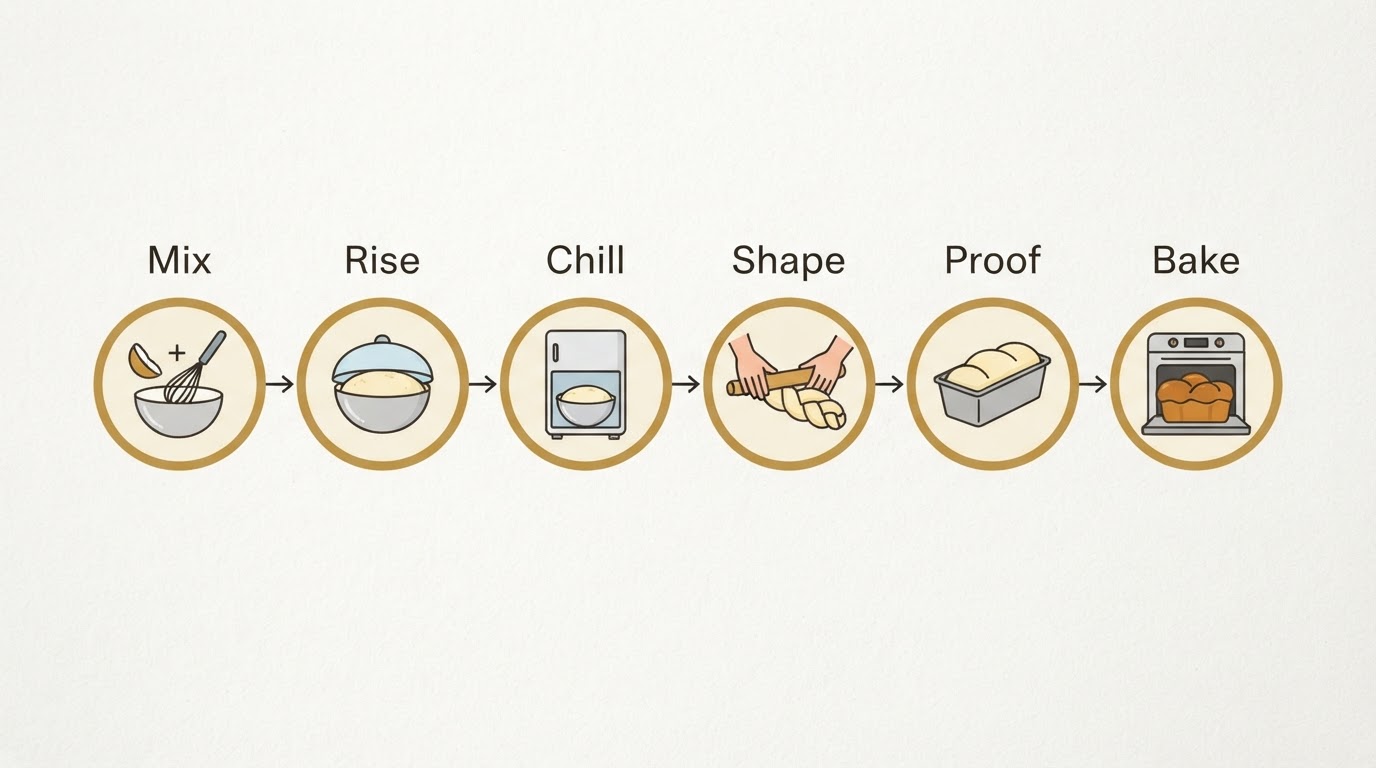
First rise. Covered at room temperature, the dough should look puffy and have grown by about half in 1 to 1 1/2 hours in a normal kitchen. If your kitchen runs cool, expect closer to 2 hours. If it is very warm, start checking at 45 minutes.
Cold rest. Two hours is the practical minimum; overnight is the sweet spot. Cold dough shapes cleanly, and the rest deepens the flavor. You can mix the dough in the evening and shape it the next morning — the dough does not suffer from the wait.
Final proof after shaping. Count on 1 1/2 to 2 1/2 hours at room temperature. The dough should look visibly puffed and feel airy. To test it, press a lightly floured finger about half an inch into the side of the loaf. If the indentation springs back quickly and completely, it needs more time. If it springs back slowly and a faint dent remains, it is ready. If the dent stays put and the dough looks deflated around it, the dough is past its peak — bake it anyway, because over-proofed brioche still tastes good, it just rises less in the oven.
How to Shape Brioche: Two Simple Options
Cold dough is the secret to easy shaping. Work quickly, and return the dough to the fridge if it starts to soften in your hands.
Option 1: A three-strand braid.
- Turn the chilled dough onto a lightly floured counter and divide it into three equal pieces, about 260 g each.
- Roll each piece into a rope about 12 inches long, tapering the ends. If a rope springs back, cover it, rest for 5 minutes, then finish rolling.
- Pinch the three ropes together at one end and braid them loosely. A tight braid tears as the dough rises, so let the strands sit next to each other rather than pulling them hard.
- Pinch the far end together and tuck both ends underneath. Place the braid in a parchment-lined loaf pan or on a sheet pan.
Option 2: A pull-apart loaf of eight balls.
- Divide the chilled dough into eight pieces, about 95 to 100 g each.
- Roll each piece into a taut ball by cupping it under your hand and dragging it in a small circle on an unfloured counter.
- Arrange the balls in two rows of four in the lined loaf pan. They merge as they proof and bake into a pull-apart loaf that is easy to tear and share.
Cover the shaped dough and let it proof. When it is ready, brush the surface gently with the egg wash — light strokes, and no puddles in the crevices, or those spots will bake up pale and soft.
How to Bake Brioche and Know When It's Done
Heat the oven to 350°F (175°C) with a rack in the lower-middle position while the shaped dough finishes its final proof.
Brush the loaf with the egg wash, then bake for 35 to 40 minutes for a braid or a full loaf, or 30 to 35 minutes for the eight-ball pull-apart. Rotate the pan once, about two-thirds of the way through, so the loaf browns evenly.
You will know it is done when three things line up:
- The crust is a deep, even golden brown. If the top is browning faster than the center is baking, tent the loaf loosely with foil and keep going.
- The center reads 195°F to 200°F (90°C to 93°C) on an instant-read thermometer.
- The loaf sounds hollow when you tap the bottom, and the sides feel firm rather than soft.
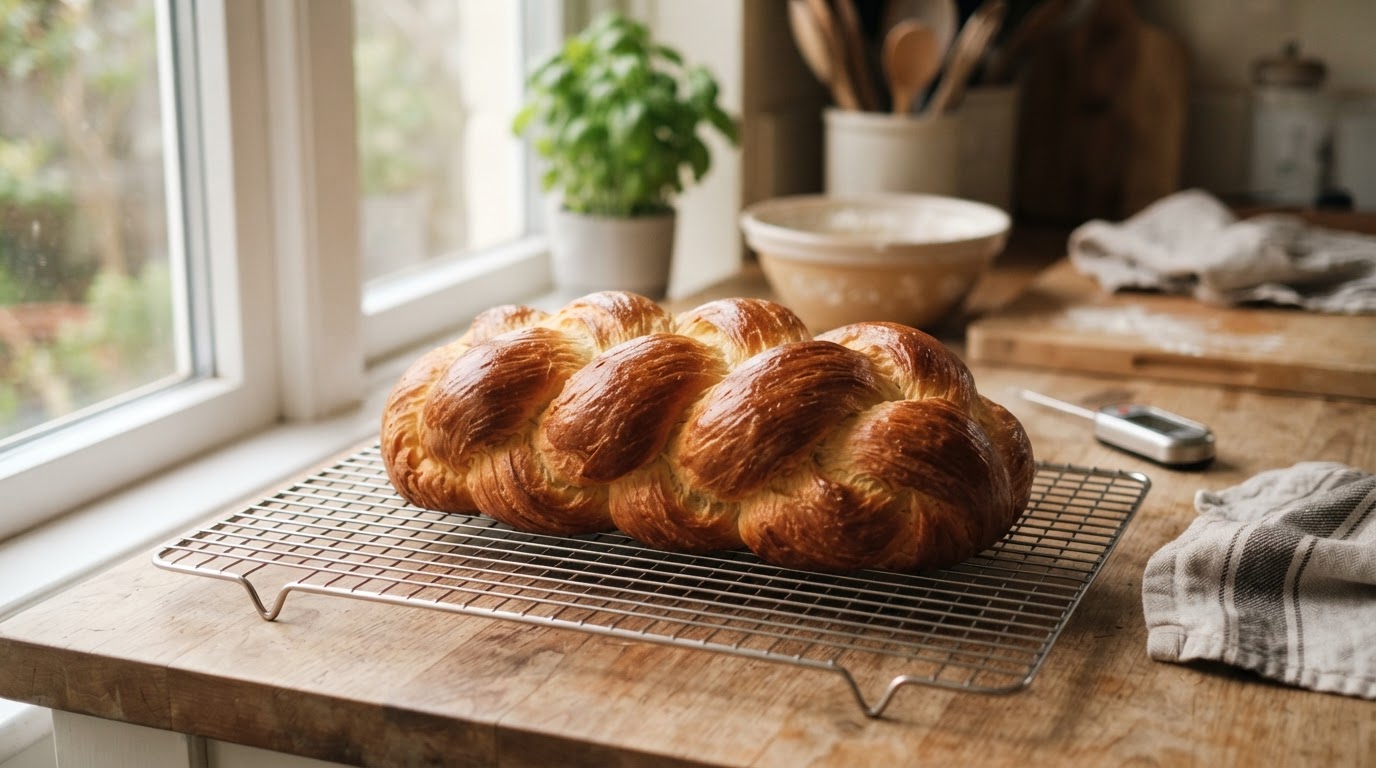
Cool the loaf in the pan for 10 minutes, then move it to a rack and let it cool for at least an hour before slicing. Brioche is still setting as it cools; cut it too early and the crumb will taste gummy even though the loaf is fully baked. The wait is the hardest part of the whole recipe.
What to Do When Your Brioche Goes Wrong
The dough is greasy and will not come together. The butter or the room was too warm. Chill the bowl for 20 minutes and keep mixing. If the butter was cold and hard instead, let it soften for 10 minutes and try again.
The loaf is dense and dry. Almost always this means extra flour went in to fight the stickiness. Weigh your flour if you can, and chill the dough instead of dusting it.
The top collapsed in the oven. The final proof ran long. Shorten it next time; when the dough looks puffy and a poke springs back slowly, bake it rather than waiting for a bigger rise.
The crust is pale. The wash was skipped, the oven ran low, or the loaf came out early. Egg wash and a full bake to temperature fix all three.
The middle is gummy. Either the loaf was underbaked or it was sliced hot. Check the internal temperature, then let the loaf cool completely.
The dough barely rose. Check the yeast date and the liquid temperature. Anything above about 120°F (49°C) starts to damage yeast, and old yeast loses strength quietly.
The top is dark before the center is done. Tent with foil at about 25 minutes and let the bake finish. A 9-by-5 loaf is thick in the middle, and it takes the full time listed to cook through.
How to Store and Use Your Brioche
A baked brioche keeps well for about two days at room temperature in a paper bag or a bread box. A plastic bag softens the crust, which is fine if you like a tender slice for toast. For anything longer, slice the loaf, wrap it tightly, and freeze it for up to three months; reheat slices straight from the freezer at 300°F (150°C) for 8 to 10 minutes.
Day-old brioche is not a problem — it is an opportunity. It makes the best French toast because the enriched crumb soaks up custard without falling apart. Cubes go into bread pudding, thin slices become croutons for soup, and the same dough baked as eight balls makes excellent little buns for sliders or breakfast sandwiches.
A Faster Path: Enriched Bread Recipes to Bake Next
Learning brioche by feel takes a few bakes, and there is nothing wrong with baking from a published formula while you build that feel. The Rustic Bakehouse keeps its enriched and yeasted loaves alongside its sourdough line in one Bread category — including a Milk Brioche Bread Loaf, a Brioche Braid and Loaf, and a Simple Sourdough Challah Recipe. The enriched formulas there are written with gram weights and US cup measures side by side, with equipment lists at the top and bake cues like "golden brown and hollow-sounding when tapped" at the end, so you can follow the same checkpoints you used here. The challah, for example, is built on a two-day schedule, which is a useful model for planning an enriched bake around a busy weekend. If you want a braid or a loaf without designing the dough yourself, that is a sensible shortcut — and if you would rather keep working with this formula, you have everything you need.
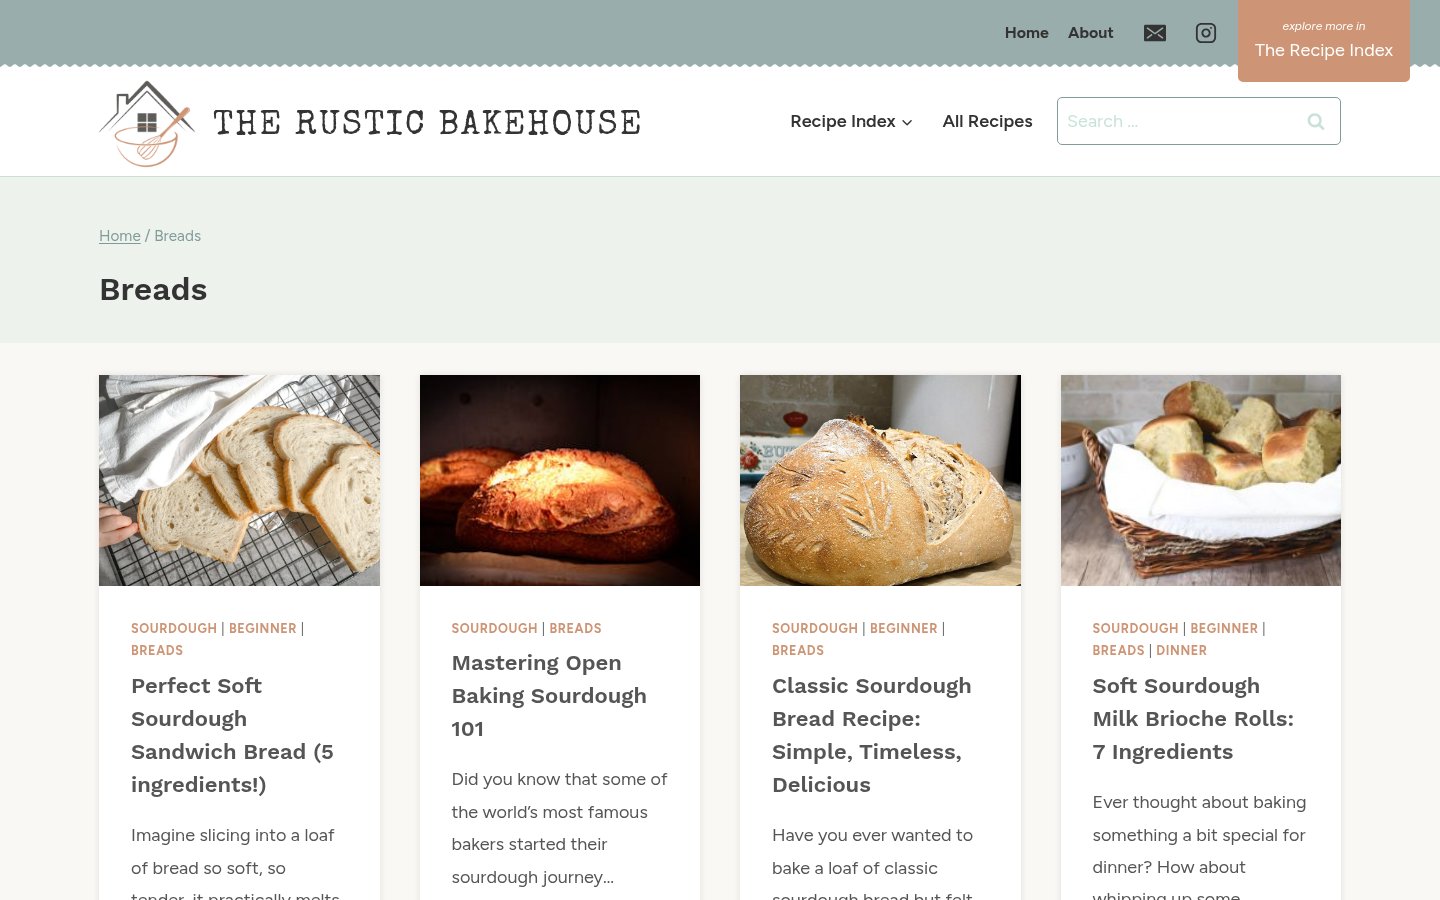
Breads category archive first screen: breadcrumb, H1 'Breads', and 4-column bread-recipe card grid.
What to Bake Once You Have This Loaf
The skills you just used — developing a soft enriched dough, adding butter patiently, reading a proof, and baking to an internal temperature — carry straight into challah, babka, cinnamon rolls, and brioche buns. Each one asks for the same calm approach: trust the dough's cues over the clock, keep the butter cool when it matters, and let the loaf cool fully before you slice it.
Bake this recipe once, write down what your kitchen did and how long it took, and the second loaf will be easier than the first.