Easy Sandwich Bread Recipe at a Glance
One 9×5-inch loaf (about 12 slices) · 20 minutes hands-on · 3 to 3½ hours total
Here is the direct answer: this is a straight yeasted dough, no starter and no special equipment, made tender with milk and a little butter. You mix it, knead it for about eight minutes, let it double in the bowl, shape it into a log, proof it in the pan, and bake it at 350°F until the top is golden and the center reads 190°F to 200°F. If you can stir, knead, and wait for two rises, you can bake this loaf today.
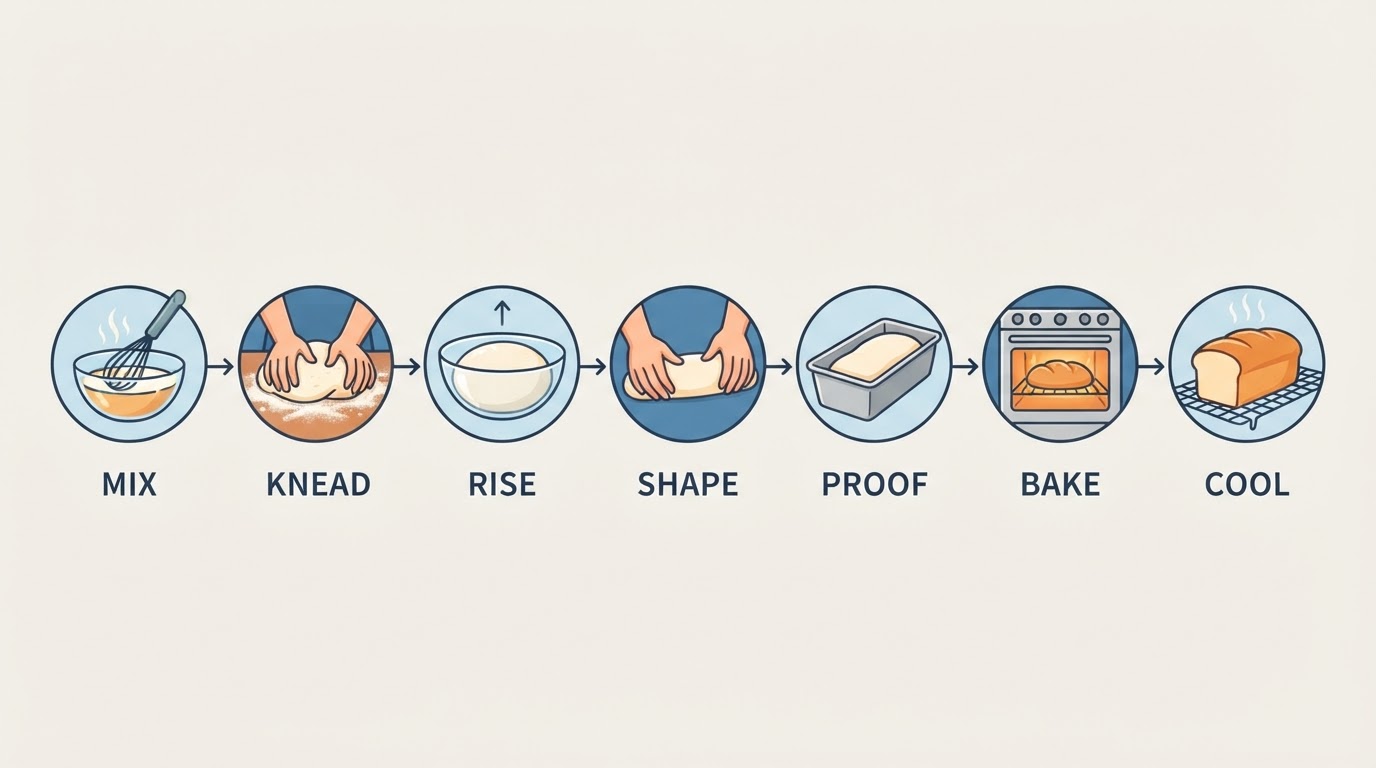
The whole loaf runs on a predictable schedule: mix, knead, rise, shape, proof, bake, cool.
Equipment: a large mixing bowl, a wooden spoon or sturdy spatula, a 9×5-inch loaf pan, and a cooling rack. An instant-read thermometer is optional, but it turns "is it done?" into a number instead of a guess.
Ingredients
- 500 g (about 4 cups) all-purpose flour or bread flour, plus extra for dusting
- 7 g (2¼ teaspoons, or one 0.25-ounce packet) instant yeast or active dry yeast
- 25 g (2 tablespoons) granulated sugar
- 9 g (1½ teaspoons) fine sea salt
- 240 g (1 cup) whole milk, warmed to about 110°F
- 60 g (¼ cup) warm water, 105°F to 115°F
- 43 g (3 tablespoons) unsalted butter, softened
- 1 tablespoon milk or one beaten egg, for brushing the top (optional)
A note on flour: all-purpose gives the softest, most familiar sandwich crumb, while bread flour adds a little chew. Both work here. Just spoon the flour into your measuring cup and level it off — a packed cup quietly adds 20 to 30 grams of extra flour and turns a soft dough into a heavy one.
Step-by-Step Instructions
1. Mix the dough
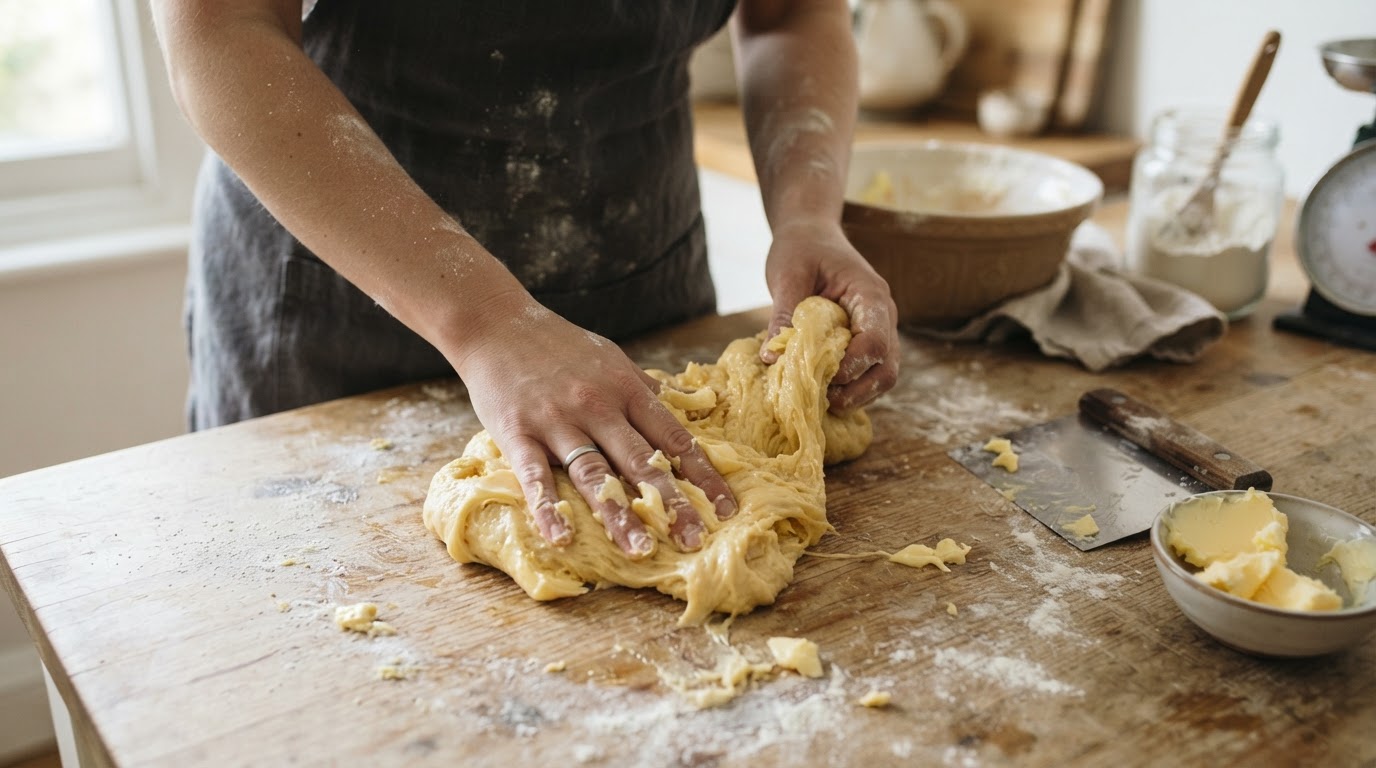
Whisk the flour, yeast, sugar, and salt together in a large bowl. Warm the milk and water until the mixture feels comfortably warm to your wrist, about 110°F; if you cannot hold a finger in it without flinching, let it cool for a minute. Pour the liquids into the dry ingredients and stir until a shaggy mass forms. Add the softened butter and work it in with your spoon or hands until no large butter pockets remain — the dough will look messy at this point, and that is exactly right.
2. Knead until smooth
Turn the dough onto a lightly floured counter and knead for 8 to 10 minutes, until it is smooth, elastic, and only slightly tacky. To check, pinch off a small piece and stretch it thin enough to see light through it; if it stretches without tearing, it is ready. A stand mixer with a dough hook does the same job in 5 to 6 minutes on low speed. Resist the urge to keep adding flour — a soft dough bakes into a soft loaf, and the dough will stop sticking to your hands as it develops.
3. Let it rise
Shape the dough into a ball, place it in a lightly buttered bowl, and cover it with a clean towel or plastic wrap. Leave it somewhere warm — 75°F to 80°F is ideal — for 60 to 90 minutes, until it has roughly doubled. Enriched doughs like this one rise a little more slowly than plain flour-and-water dough, so judge by the dough, not the clock.
4. Shape the loaf
Press the risen dough down gently and pat it into a rectangle about 9 by 12 inches. Roll it up tightly from the short side, pinch the seam closed, and tuck the ends under. Place it seam-side down in a greased 9×5-inch loaf pan.
5. Proof in the pan
Cover the pan and let the dough rise for 45 to 60 minutes, until it crowns about 1 inch above the rim and springs back slowly when you press it lightly with a finger. If it springs back quickly and feels tight, give it a few more minutes.
6. Bake
Heat the oven to 350°F with a rack in the middle. Bake for 35 to 40 minutes, until the crust is golden brown. If the top is browning faster than the rest of the loaf, lay a piece of foil loosely over the pan after 25 minutes. For certainty, slide an instant-read thermometer into the center: 190°F to 200°F means it is done.
7. Cool completely
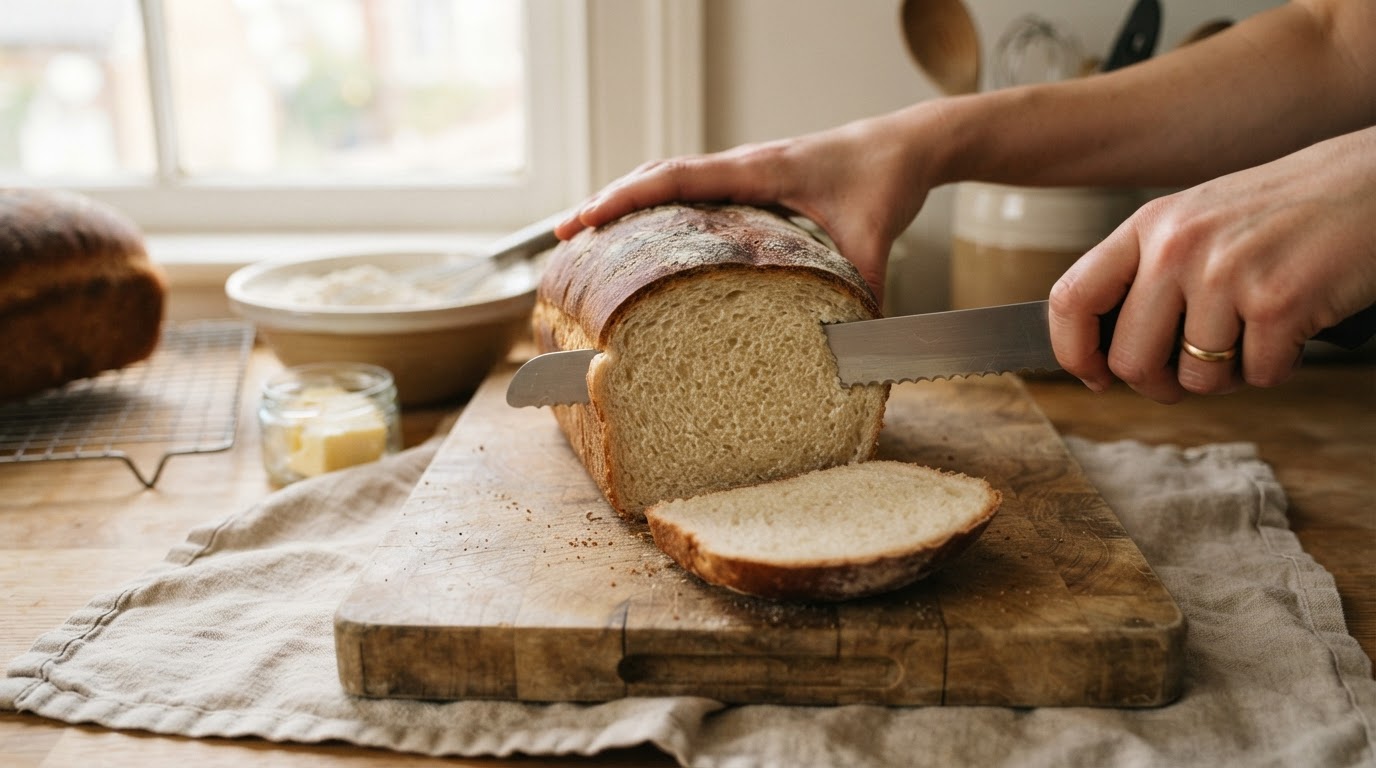
Leave the loaf in the pan for 10 minutes, then turn it out onto a cooling rack. Cool the loaf completely before you slice it. Warm bread feels irresistible, but slicing early crushes the crumb and gives you a gummy, wadded slice — the loaf needs that hour to finish setting.
How to Know It's Ready at Every Stage
Baking gets easy once you stop watching the clock and start reading the dough. These are the checkpoints that matter:
- After kneading: the dough stretches thin enough to show light through it without tearing.
- After the first rise: it has roughly doubled and looks puffy, not tight.
- After shaping: the log is even, with the seam pinched shut and sitting on the bottom.
- Before baking: the dough crowns about 1 inch above the pan rim and springs back slowly when poked.
- Out of the oven: golden top, an internal temperature of 190°F to 200°F, and a hollow sound when you tap the bottom.
- Before slicing: the loaf is completely cool, with no warmth left at the center.
The One Trade-off: Soft Bread Takes a Little Patience
Everything that makes this loaf tender — the milk, the butter, the touch of sugar — is also what slows the yeast down. Fat coats the flour proteins and sugar pulls water toward itself, so the dough takes longer to rise than a plain water-and-flour loaf, sometimes noticeably longer on a cold day.
That is the trade-off: you get a soft, fine crumb, but you cannot rush it. Three habits make it painless. Start earlier than you think you need to. Warm the milk to about 110°F and keep the bowl out of drafts. And when the dough tests ready, trust the test over the timer. If you do need to hurry a stubborn loaf, place the covered bowl in an oven with only the light on, or set it over a second bowl of warm water — gentle warmth, never direct heat.
The same patience applies at the end: a loaf sliced hot will always taste gummy, no matter how perfectly it was baked.
Troubleshooting: Dense, Gummy, or Pale Loaves
What you see | What usually caused it | What to do next time |
|---|---|---|
Dense, heavy slices | Under-proofed dough, or yeast that was old | Proof until the dough crowns above the pan rim, and test your yeast in the warm water first |
Gummy center | Sliced while hot, or the loaf was under-baked | Cool the loaf completely; bake to 190°F–200°F |
Pale, soft crust | Oven running cooler than the dial says | Check with an oven thermometer and bake until deeply golden |
Torn or cracked top | Oven too hot, or the dough was over-proofed | Bake at 350°F and catch the dough when it just reaches the rim |
Dough too sticky to shape | A humid day, or flour that absorbs less water | Chill the dough for 15 minutes and add flour 1 tablespoon at a time |
Dry, crumbly slices | Packed flour, or a few extra minutes in the oven | Spoon and level your flour, and pull the loaf at 195°F |
Enriched and Braided Variations: Challah, Brioche, and Milk Bread
This loaf sits at the easy end of a whole family of breads. Add more eggs and butter and the same dough turns into the enriched loaves you see braided on bakery shelves — the technique stays the same, but the dough gets richer, sticker, and slower to rise.
- Soft milk bread: use all milk instead of milk and water, add an extra egg yolk, and increase the butter by a tablespoon. The crumb turns feathery and shreds into soft strands.
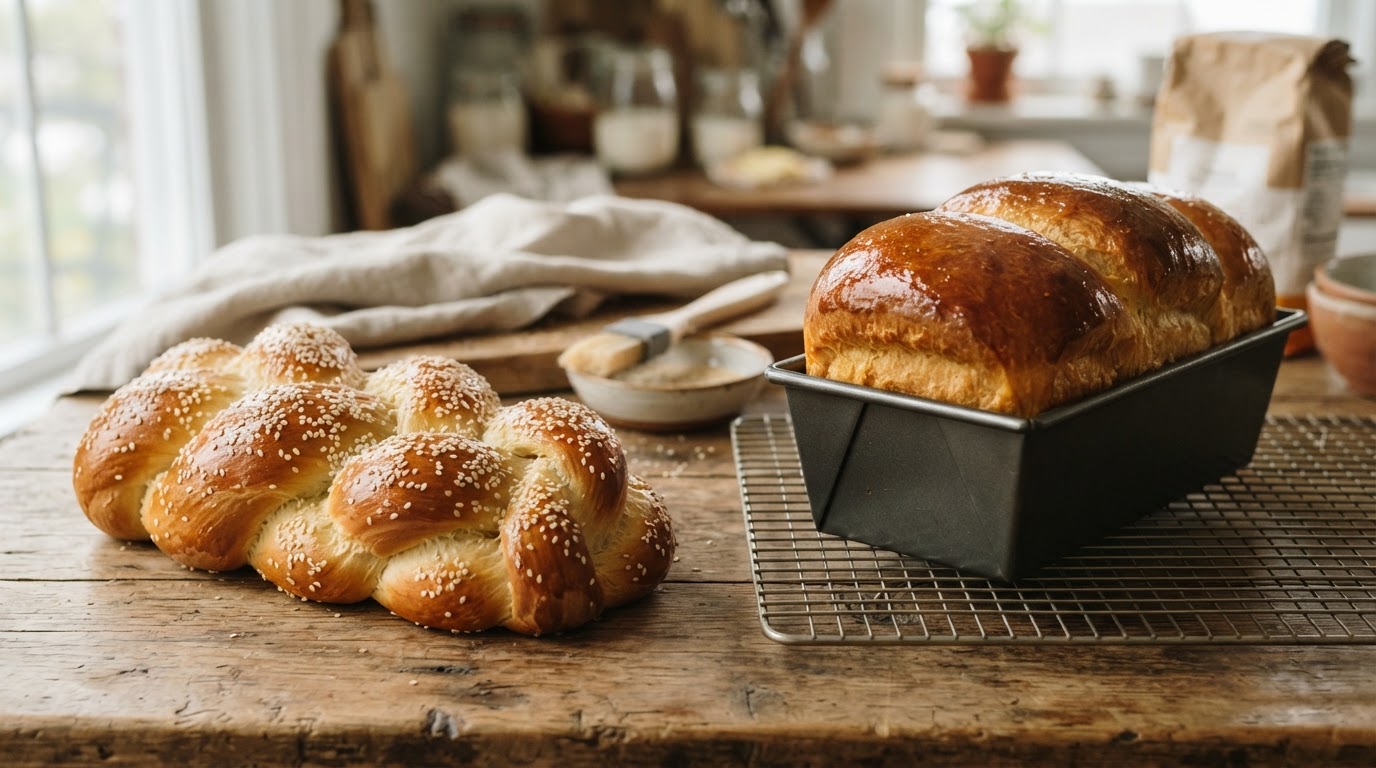
- Challah: replace the water with two eggs, swap the butter for a neutral oil, and divide the dough into three ropes to braid. Brush with egg wash before baking, and expect the braid to bake a little faster than a pan loaf.
- Brioche: add two eggs and push the butter up to about half a cup. The dough will be soft and slippery, so chill it for at least an hour before shaping, then let it rise slowly. A loaf pan keeps a brioche to sandwich-bread dimensions.
A braided challah and an egg-rich brioche loaf both grow out of the same basic dough. Working through these variations is also the fastest way to learn how enrichment changes dough: more fat and eggs mean a longer rise, a deeper color, and a softer crust. Bake enriched braids and loaves at 350°F to 375°F, and let internal temperature — not color alone — tell you when they are done.
Make-Ahead, Storage, and Freezing
The dough is forgiving about timing. You can complete the first rise, refrigerate the covered dough for 8 to 24 hours, then shape it cold and let the shaped loaf proof a little longer than usual. A slow, cold rise also deepens the flavor.
Keep the cooled loaf wrapped at room temperature for up to two days. The refrigerator is the wrong home for sliced bread — it dries the crumb out faster than the counter does. For longer storage, slice the loaf, wrap it tightly, and freeze it for up to three months; the slices toast straight from frozen.
Where to Go Next If You Loved This Loaf
The Rustic Bakehouse keeps a Bread category that gathers its yeasted and enriched loaves alongside its sourdough line, and the published recipes include a milk brioche bread loaf, a brioche braid, and a simple sourdough challah. Once this sandwich loaf is in your regular rotation, those are the natural next bakes.
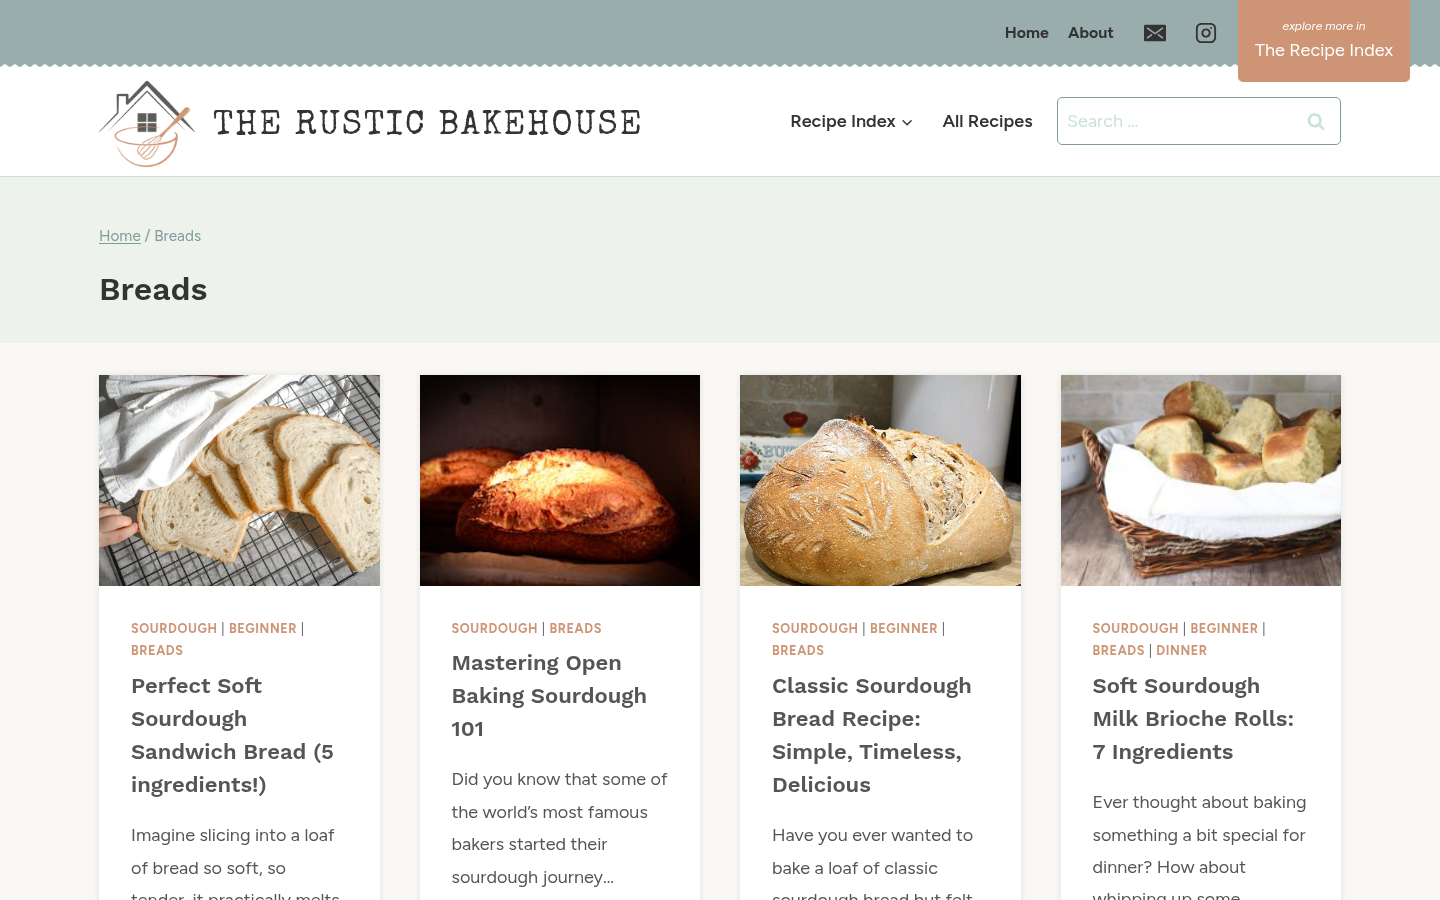
Breads category archive first screen: breadcrumb, H1 'Breads', and 4-column bread-recipe card grid.
Frequently Asked Questions
Can I make this easy sandwich bread recipe without a stand mixer?
Yes — the eight to ten minutes of kneading is the whole job, and it is very doable by hand. A stand mixer saves effort, not skill. If you would rather skip kneading altogether, mix the dough until no dry flour remains, cover it, and let it sit at room temperature for 12 to 18 hours; then shape, proof, and bake as written.
Should I use instant yeast or active dry yeast?
Either works at the same amount here. Instant yeast can go straight into the dry ingredients. Active dry yeast does better when you wake it up first: stir it into the warm water with a pinch of the sugar, wait 5 to 10 minutes for a foamy layer, then add it with the milk.
Can I make this bread without milk?
Yes. Replace the milk with the same weight of water or unsweetened non-dairy milk, and add an extra tablespoon of butter. The loaf will be slightly less tender and a little less brown, but it still makes excellent sandwiches.
Can I use whole wheat flour?
Swap up to half the flour for whole wheat, and add roughly two teaspoons of water for every 60 grams of whole wheat you use. Whole wheat dough rises more slowly and produces a denser slice, so give it extra time at both rises.
How long does homemade sandwich bread keep?
Two days at room temperature, wrapped well, is when it is at its best. After that, toast it or freeze it. Sliced and frozen, this loaf holds for about three months.
Can I double the recipe?
Yes — use two loaf pans and keep the mixing and kneading times the same. Two loaves often proof a bit faster side by side, so start checking them a few minutes early.
What if I don't have a loaf pan?
Free-form the dough into a round or oval on a parchment-lined baking sheet, proof it the same way, and bake at 375°F for about 25 to 30 minutes. You will get a rounder, more rustic loaf with a slightly firmer crust — still excellent for sandwiches.