What Actually Makes a Muffin Rise
Muffins belong to the quick bread family, which means they get their lift from chemical leaveners instead of yeast. Baking powder does most of the work. It is usually double-acting, so it starts releasing bubbles the moment it meets liquid and keeps going once the batter meets oven heat. Baking soda joins in when there is something acidic in the mix — buttermilk, yogurt, or sourdough discard — and that pairing is what keeps the crumb tender instead of flat or soapy.
This is also why muffins are quick. There is no proof, no waiting for dough to double, and no kneading. The flip side is that the batter is on a clock: once the liquid hits the leaveners, the bubbles have already started, so the pan should be lined and the oven should be hot before you begin.
Flour plays the other half of the story. It forms gluten when it is stirred, and gluten is the structure that makes bread chewy. A muffin wants some structure, just enough to hold the crumb together around the bubbles. Every extra stir develops more of it, and more gluten means tunnels, toughness, and a dense middle. That is why "do not overmix" shows up in nearly every good muffin recipe, and why it is the one rule worth taking literally.
There is an honest limitation to know up front: muffins are a same-day bake. They are at their best warm or within a few hours, and they dry out faster than a loaf because so much of their surface is exposed. Freezing solves that almost completely, and that part comes later. No amount of mixing skill will make a muffin taste fresh on day three on the counter.
What You Need (No Mixer, No Fancy Pan)
You do not need a stand mixer, a food processor, or any single-purpose gadget. A muffin is a bowl-and-spoon project. Here is the whole setup:
- Two mixing bowls — one for the dry ingredients, one for the wet.
- A whisk, or a fork if that is what you have.
- A spoon or flexible spatula for folding.
- Measuring cups and spoons, or a kitchen scale.
- A 12-cup muffin tin and paper liners.
If you do not own a muffin tin, you still have options. Pour the batter into greased ramekins or small oven-safe dishes and bake a little longer, or scrape it into a small loaf pan and slice the result into squares. The crumb will be the same; only the shape changes.
One note on measuring: flour settles as it sits in the bag. Scoop it straight from the bag and you can pack in 20 to 30 percent more than the recipe means. Spoon the flour into the cup, then level it with the back of a knife. If you have a scale, use it — a cup of all-purpose flour is about 120 grams.
The Base Muffin Recipe: 12 Muffins, Any Flavor
This makes 12 standard muffins and works with almost anything you want to fold in.
Dry ingredients
- 2 cups (240 g) all-purpose flour
- 1 tablespoon baking powder
- 1/2 teaspoon baking soda (only when you are using buttermilk, yogurt, or sourdough discard)
- 1/2 teaspoon fine salt
- 3/4 cup (150 g) granulated sugar
Wet ingredients
- 1 cup (240 ml) milk or buttermilk
- 2 large eggs
- 1/2 cup (100 g) neutral oil or melted butter, cooled slightly
- 1 teaspoon vanilla extract
Add-ins (optional)
- Up to 1 1/2 cups total: berries, chocolate chips, chopped nuts, dried fruit, citrus zest, or a spice like cinnamon
The amounts are a ratio as much as a recipe: about two parts flour to two parts liquid, one part egg, and one part fat. Change the flour or the fat by much and you are baking something else — a cake, a scone, or a loaf. The sugar can move between 1/2 cup and 1 cup depending on how sweet you want the muffins and how sweet the add-ins are.
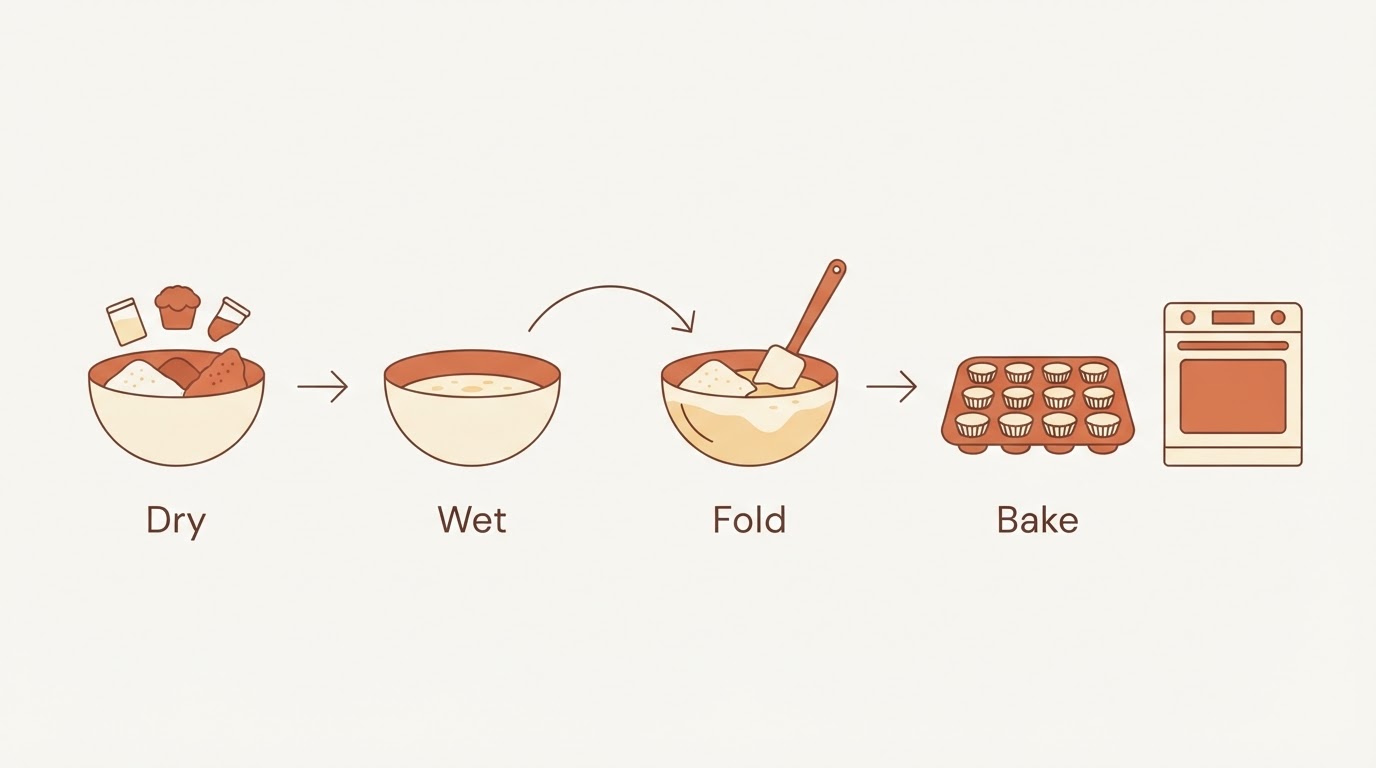
How to Mix Muffins: Dry, Wet, Fold
The order matters more than the wrist action.
- Heat the oven to 400°F and line the tin with paper liners. Give the oven a full 15 to 20 minutes to come up to temperature.
- Whisk the dry ingredients for 30 seconds. This is not busy work. Baking powder has to be spread evenly before any liquid touches it, or you get one muffin that tastes of metal and eleven that barely rise.
- Whisk the wet ingredients until smooth. Break up the eggs first, then whisk in the milk, oil, and vanilla. If you are using melted butter, let it cool for a minute so it does not cook the eggs.
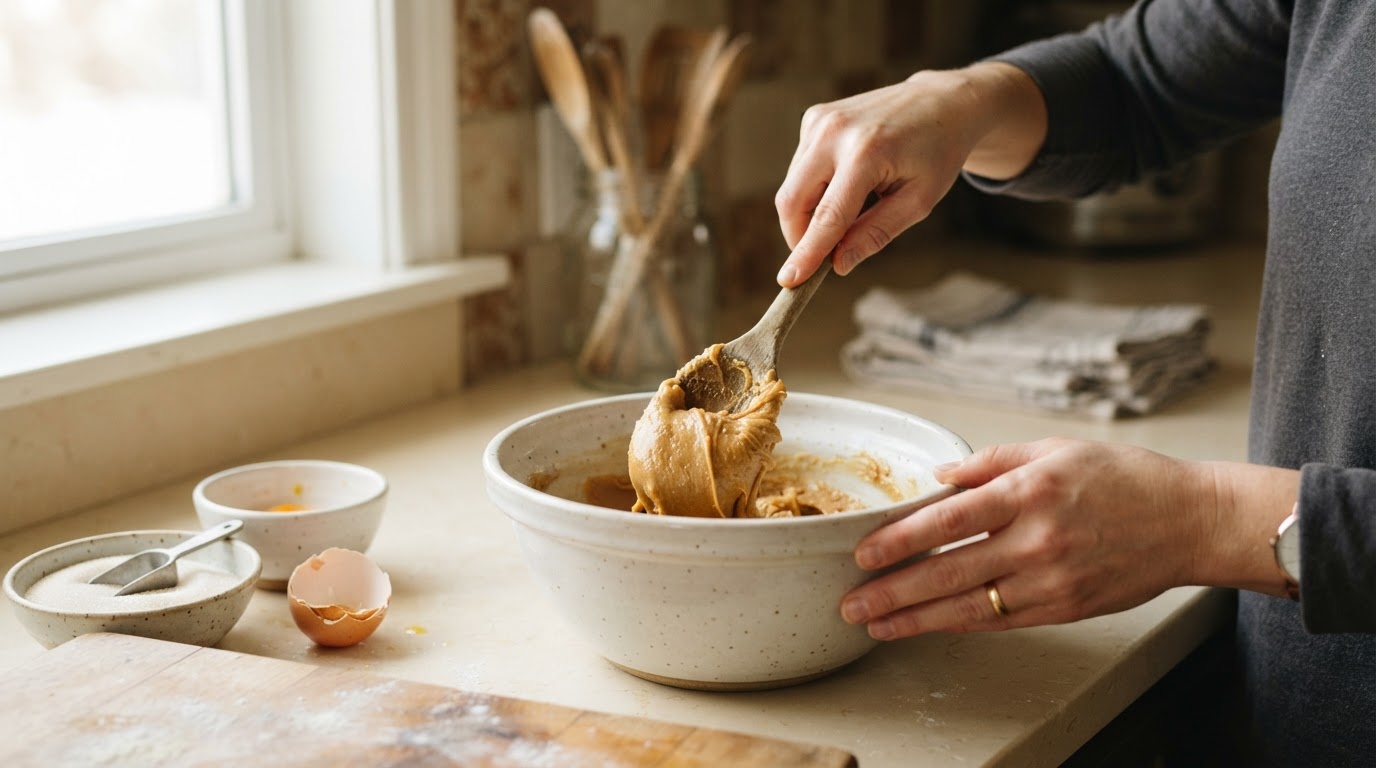
- Pour the wet into the dry and fold. Use a spatula or spoon: cut down through the middle, sweep around the bowl, and turn the batter over. Ten to fifteen folds is usually enough. Stop while a few dry streaks remain — they disappear in the oven.
- Fold in the add-ins last. Two or three turns, no more. Toss berries or chocolate chips in a spoonful of flour first if you want them to stay suspended instead of sinking.
- Divide the batter right away, filling each cup about three-quarters full. A quarter-cup measure or an ice-cream scoop keeps the cups even, and even cups bake evenly.
Lumps are fine. A slightly shaggy batter with visible flour pockets is exactly what you want, because it means you stopped in time.
How to Get Tall Tops Out of the Oven
High heat is the trick. A fully preheated 400°F oven sets the outside of the muffin quickly, and the steam inside pushes upward before the structure hardens. If your oven runs cool, or you started the batch before it finished preheating, the tops spread sideways instead.
Bake for 17 to 20 minutes, and resist opening the door for the first 12. Rotate the tin once after that if your oven has a hot spot. The muffins are done when the tops are domed and lightly golden, the surface springs back when you press it, and a toothpick comes out with a few moist crumbs rather than wet batter.
Let them sit in the tin for five minutes, then move them to a rack. Leaving them in the pan traps steam against the bottoms, which is how you get a soggy base.
Using Up Sourdough Discard in the Same Muffin Recipe
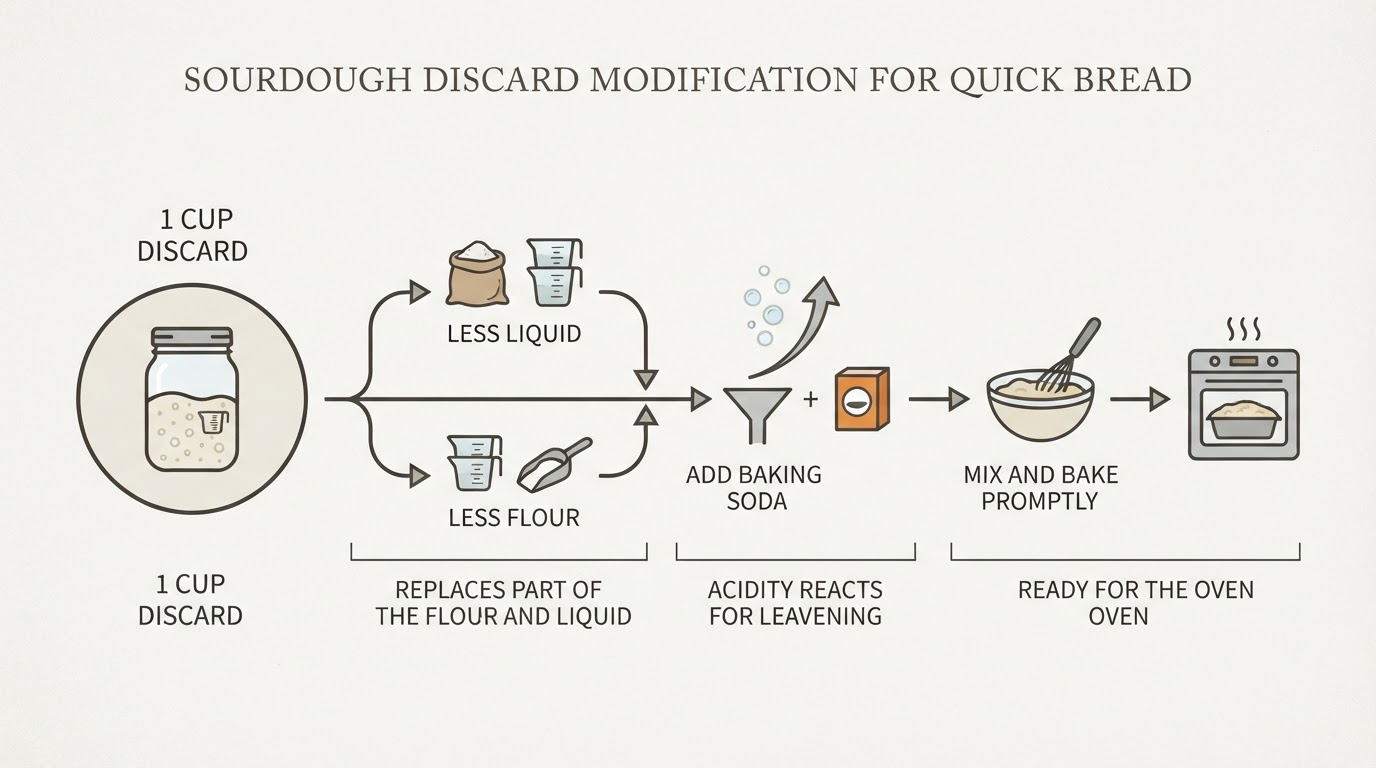
If there is a jar of discard in your fridge, this batter is one of the easiest places to use it. Discard brings two useful things to a muffin: acidity and flavor. The acidity reacts with baking soda for extra lift, and the fermented tang keeps the crumb from tasting like a plain sweet cake.
To add it, replace half the milk with half a cup (120 g) of discard and keep the half teaspoon of baking soda in the dry mix. If you want to use a full cup of discard, drop the milk to half a cup; the batter will be a little tangier and a little more tender. Sourdough discard does not need to be active, bubbly, or freshly fed for this to work — straight from the fridge is fine. Older discard tastes more sour, which is usually a feature in a muffin, but discard that smells spoiled, has changed color, or shows mold belongs in the bin.
One more use for the jar: freeze leftover discard in half-cup portions, then thaw one whenever you want a batch. The muffins themselves freeze well too, which brings us to the part most recipes skip.
Freezing Muffins So They Taste Fresh Weeks Later
Muffins freeze better than almost any other baked good because they are small and already portioned. The whole trick is to freeze them on their own first so they keep their shape.
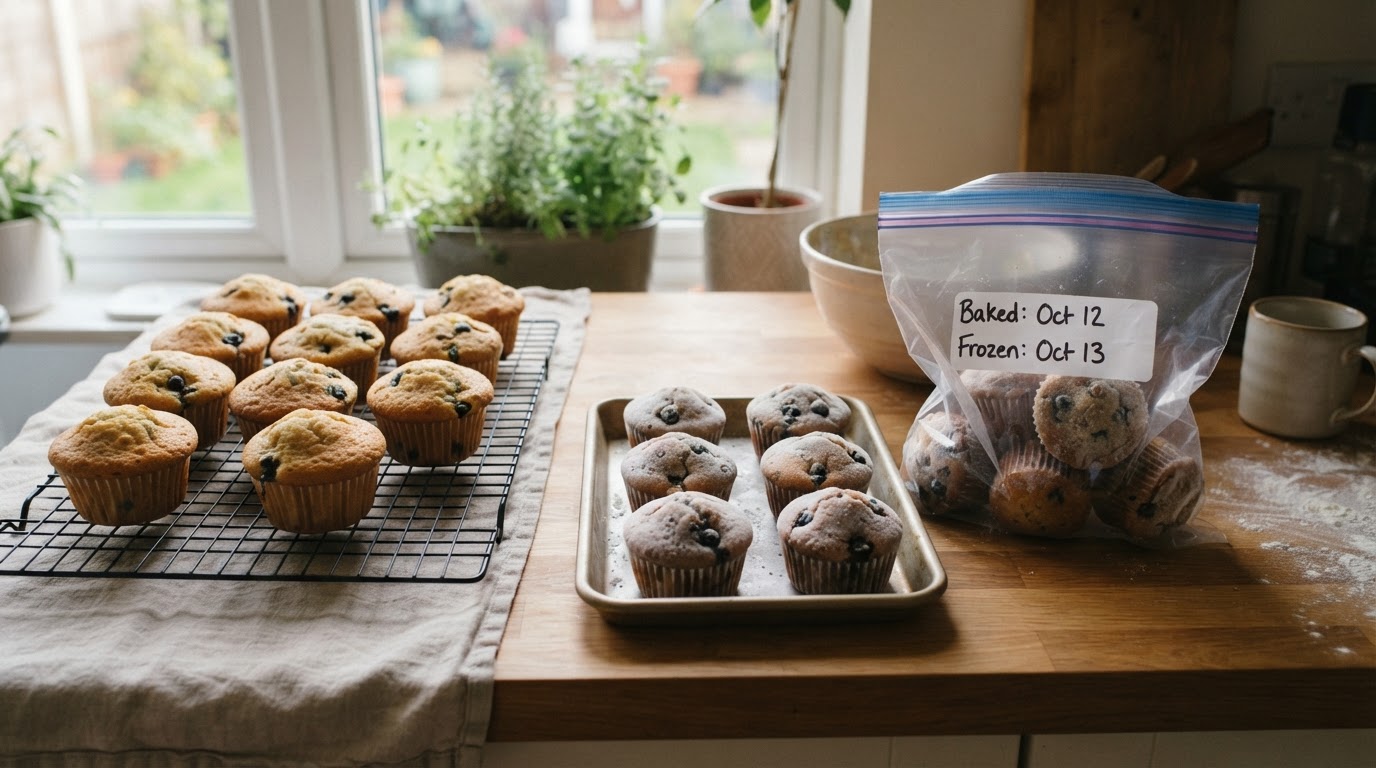
- Cool them completely on a rack. A warm muffin releases steam inside the bag, and that steam comes back as ice and a soggy top.
- Freeze them first on a tray, uncovered, for an hour or two until they are firm. This keeps them from squashing into one another.
- Move the frozen muffins into a freezer bag, press out as much air as you can, and write the date on the bag. Parchment between layers helps if you stack them.
- Eat them within two to three months for the best texture. They stay safe longer, but the crumb dries out a little more every week.
- Thaw at room temperature for an hour or two, or in the microwave for 20 to 30 seconds. For a fresh-baked top, put them in a 300°F oven for eight to ten minutes.
One limit worth knowing: the freezer cannot rescue a muffin that was already dry when it went in. Freeze the batch you are happy with, and eat the mistakes while they are warm.
When Something Goes Wrong: A Quick Fix Chart
What you see | What caused it | What to change next time |
|---|---|---|
Dense, heavy crumb | Batter was mixed too long, or the leaveners were old | Fold only until the flour disappears; check the date on the baking powder |
Tunnels and holes | Vigorous beating after the flour went in | Switch to a spatula and stop early; lumps are fine |
Flat tops | Oven was not fully preheated, or the door was opened early | Give the oven 15 to 20 minutes; wait until the 12-minute mark before rotating |
Tough, rubbery edges | Overbaking, or cups filled too full | Pull them when a toothpick shows moist crumbs; fill three-quarters full |
Soggy bottoms | Muffins cooled in the tin, or fruit was wet | Move to a rack after five minutes; pat fruit dry and toss it in flour |
Soapy, bitter aftertaste | Too much baking soda with no acid to balance it | Use buttermilk, yogurt, or discard, or skip the soda and use baking powder only |
Dry by the next day | Muffins were stored uncovered, or never cooled fully before bagging | Cool completely, then store airtight; freeze what you will not eat within two days |
If You Would Rather Start From a Written-Out Recipe
Sometimes you do not want to debug your own crumb. You want a formula that has already been mixed, baked, and written down with exact amounts and the small notes that decide the result. That is a perfectly good way to start, especially for a first batch.
The Rustic Bakehouse is a home-baking recipe site built around from-scratch baking, and its Quick Breads collection is where the muffins and quick loaves live, including sourdough discard recipes built to use up the jar in your fridge and a vanilla muffin recipe written out in grams. Its recipe index groups recipes by type, with tiles for breakfast, lunch, dinner, and dessert, so you can browse a collection instead of guessing at titles. The posts also call out the technique points that decide the crumb — stop before you overmix — and suggest mix-ins and spice swaps that let one formula become several batches. If you want a starting point rather than a blank page, that is a sensible place to look.

Recipe catalog landing first screen: 'Explore Our Fresh Recipe Index' hero with rustic bread image, By Type filter, and Breakfast/Lunch/Dessert/Dinner category tiles.
None of that replaces the method above. Read the base recipe once, mix one plain batch, and you will have a feel for the batter that no written recipe can give you.
Make the First Batch Your Own
Start with the base ratio, pick a single add-in, and write down what you changed and how long you baked it. The second batch is where muffins get personal: more berries, less sugar, a spoonful of discard, half whole-wheat flour swapped in. Keep your notes on the same page as the recipe and you will stop guessing by the third try.