The short answer: yes, with the right dough
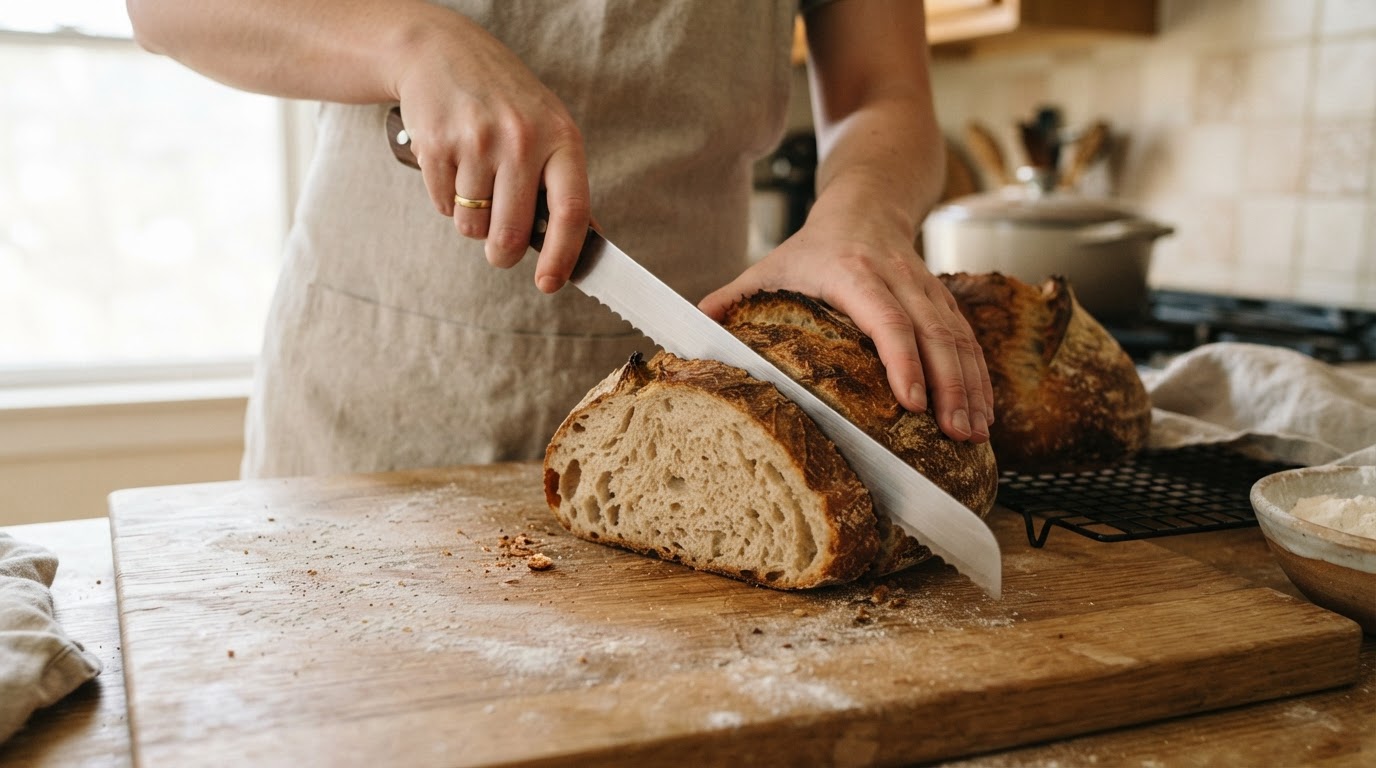
You can score sourdough with scissors. Bread scoring with scissors is less a workaround for a missing lame than a different tool for a different job. A blade parts the surface in one long stroke; a pair of scissors nibbles a line of shallow, overlapping cuts whose edges peel back into flaps as the loaf springs in the oven. King Arthur Baking recommends scissors for dough that is coated with seeds, oats or nuts, where a razor catches on the additions and leaves a ragged cut (How to score bread dough).
The catch is dough condition. Scissors press rather than slice, so a warm, slack or over-proofed loaf collapses around the blades. A cold loaf straight from its overnight retard is firm and taut, and King Arthur notes that cold dough holds its shape while warm dough drags.
How to use scissors to score sourdough
- Chill the shaped loaf. Keep it in the refrigerator until the moment you score. Cold dough holds surface tension; a room-temperature loaf is harder to cut cleanly.
- Confirm the proof before chilling. Use your recipe's timing and dough cues; the finger-poke test is less reliable on cold dough and does not give a universal answer for every flour or hydration. See King Arthur Baking's proofing guidance for the variables that change fermentation time.
- Unmold onto parchment. Turn the loaf out seam-side down, dust the surface lightly with flour, and set it in front of you with the cut line running away from your body.
- Grip properly. Slide your fingers through the loops, thumb resting on the handle, wrist relaxed. Keep the hand that is not holding the scissors flat on the bench or steadying the far edge of the dough, never under the blades.
- Angle the blades low. Hold the blades shallow to the dough surface rather than stabbing downward. The useful angle depends on the scissors and the size of the loaf.
- Snip in one line. Start at the top of the loaf and work toward the bottom, each snip beginning where the previous one ended. Aim to lift small flaps rather than to cut deep.
- Check the line. Look into the opening. The cut should dip just below the taut skin formed during shaping. If a spot looks sealed, run the tips back over the same line instead of pressing deeper.
- Bake without delay. Transfer the loaf to the oven using the steam and temperature instructions in your recipe. Flaps that sit too long before baking can fuse back together.
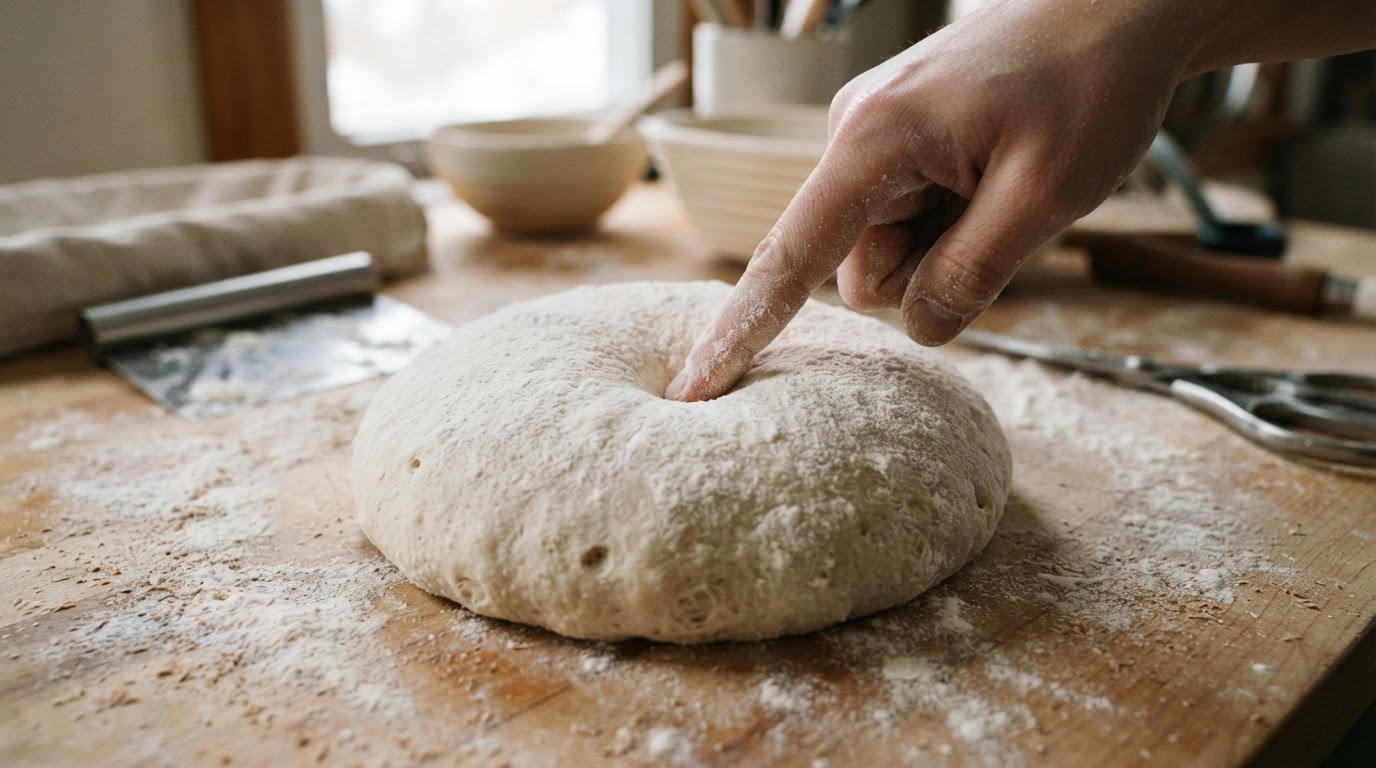
Your completion check: the snip line is visible, the flaps stay open, and the dough has not deflated around the cut.
Three cut patterns that work with scissors
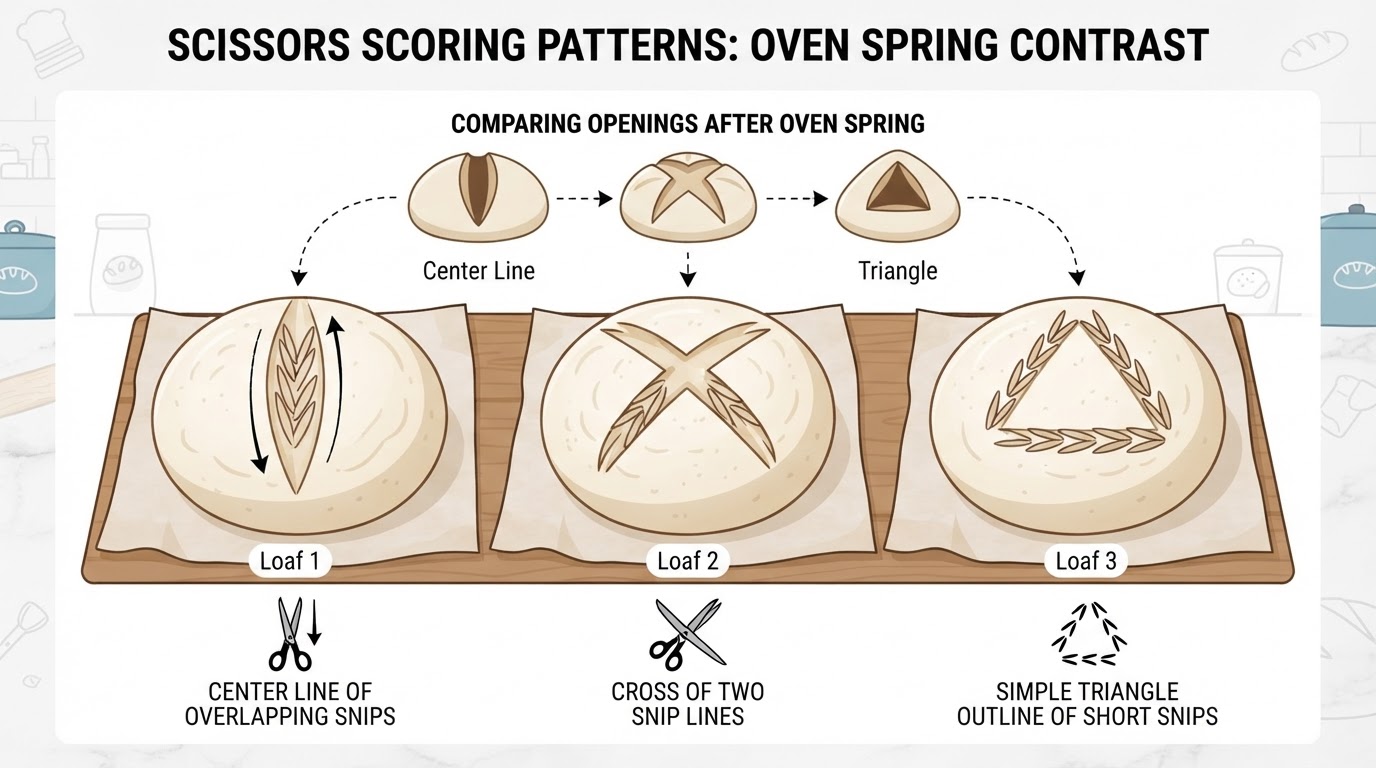
- Single center line. The most forgiving option: one row of overlapping snips down the middle. It opens like a long hinge and suits oblong loaves.
- Cross. Two snip lines at right angles over the center. The loaf tends to open in four quadrants, which spreads the spring instead of concentrating it in one place.
- Triangle or leaf outline. Short snips tracing a simple shape create ridges rather than one large opening. Keep the cuts shallow and evenly spaced or the shape closes up.
Decision table: uneven spring and other problems
What you see | Likely cause | What to do next |
|---|---|---|
Score closes up and vanishes | Dough too warm, or proofed too long | Chill the loaf before scoring; shorten or cool the next proof |
Cut looks torn and ragged | Dull scissors, or a sticky surface | Sharpen or replace the scissors; dust the surface lightly |
Dough collapses at the cut | Over-proofed or very slack dough | Give the dough less time; work quickly and keep snips shallow |
One side bursts while the score stays shut | The cut did not break the shaped skin | Snip the same line again, a touch deeper but at the same low angle |
Flaps fuse into a flat ridge | Cuts too shallow and too close | Space the snips slightly and lift each flap as you go |
Loaf spreads sideways | Weak shaping or under-shaped dough | Build more surface tension next time; scoring alone will not fix it |
Common mistakes
- Scoring warm dough. Warm dough drags, tears and seals itself; the refrigerator is your friend.
- Stabbing straight down. Vertical cuts make narrow gashes instead of flaps. Keep the blades low.
- Reaching across the blades. Hold the dough steady from behind or to the side, and always cut away from your fingers.
- Using craft or garden scissors. They are dull, hard to clean and not meant for food.
- Tasting the dough. Raw flour and dough can carry Salmonella and harmful E. coli; never taste raw dough, and wash your hands and utensils with warm soapy water after they touch it (Handling Flour Safely).
Limitations to expect
Scissors produce shallow flap cuts, so they will not give you the single deep ear that a curved lame creates. There is no universal cut depth: it depends on loaf size, hydration and how much spring remains. Very wet or heavily loaded dough can still stick and crush, and no scoring pattern compensates for weak shaping, a slack proof or an oven that is not hot enough. Wipe or wash the scissors after they touch raw dough and dry them fully so the blades stay sharp.
FAQs
Can you score sourdough with scissors? Yes. Clean kitchen scissors score sourdough reliably when the dough is cold and well-proofed, and they are the easier tool for seeded or nut-studded crusts.
How deep should you cut when scoring sourdough with scissors? Shallow. The goal is a line of flaps just below the taut surface skin, not a deep trench. There is no dependable universal depth; the right cut stays open without deflating your particular loaf.
Do you need dedicated sourdough scissors? No. Any sharp, clean kitchen scissors that feel comfortable in your hand will do. What matters is a tight hinge, food-safe material, and washing them after contact with raw dough. That is also how to score bread without a scoring tool.
For a softer loaf that is shaped and baked differently from a crusty boule, use the site's sourdough sandwich bread recipe as a separate starting point; do not assume its scoring or baking instructions match this guide.