The short answer: treat blisters as a surface result
A common working explanation is that moisture at the dough surface and steam early in the bake encourage blisters to form. The sources here offer technique guidance, not a proven step-by-step mechanism, so it is safer to treat that explanation as a hypothesis than as a rule.
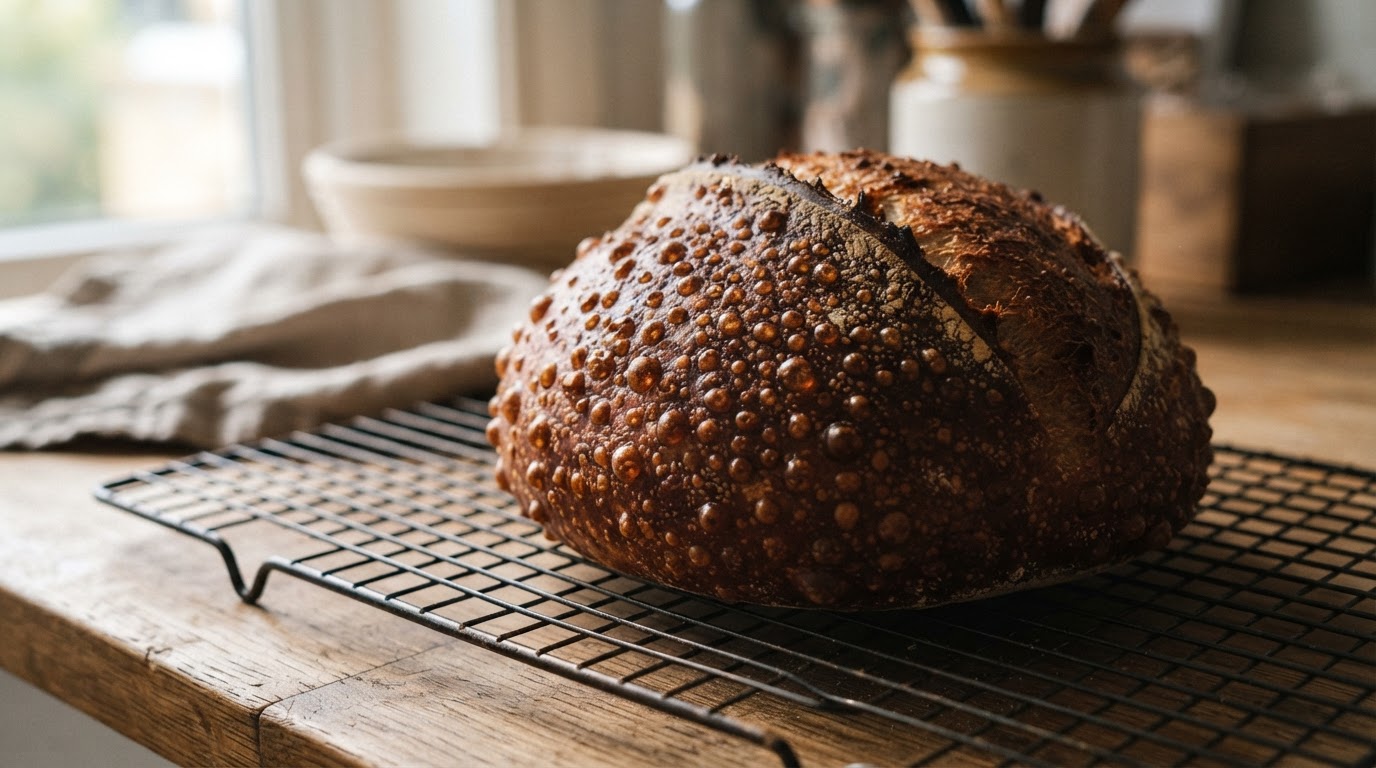
King Arthur Baking's May 2024 guide, written by Rossi Anastopoulo, credits Martin Philip with three practical tips: use as little flour as possible on the outside of the loaf, bake in a covered baker, and add ice or water to the covered baker during the bake. The article presents these as technique suggestions, not as a proofing test or a full explanation of how each blister forms.
If your crust is flour-caked or your lid leaked steam, changing your starter schedule is a detour. Sourdough blisters are a crust observation. Fermentation evidence lives in dough strength, oven spring, crumb, and flavor.
Separate the three variables
Surface treatment: how much flour stays on the skin
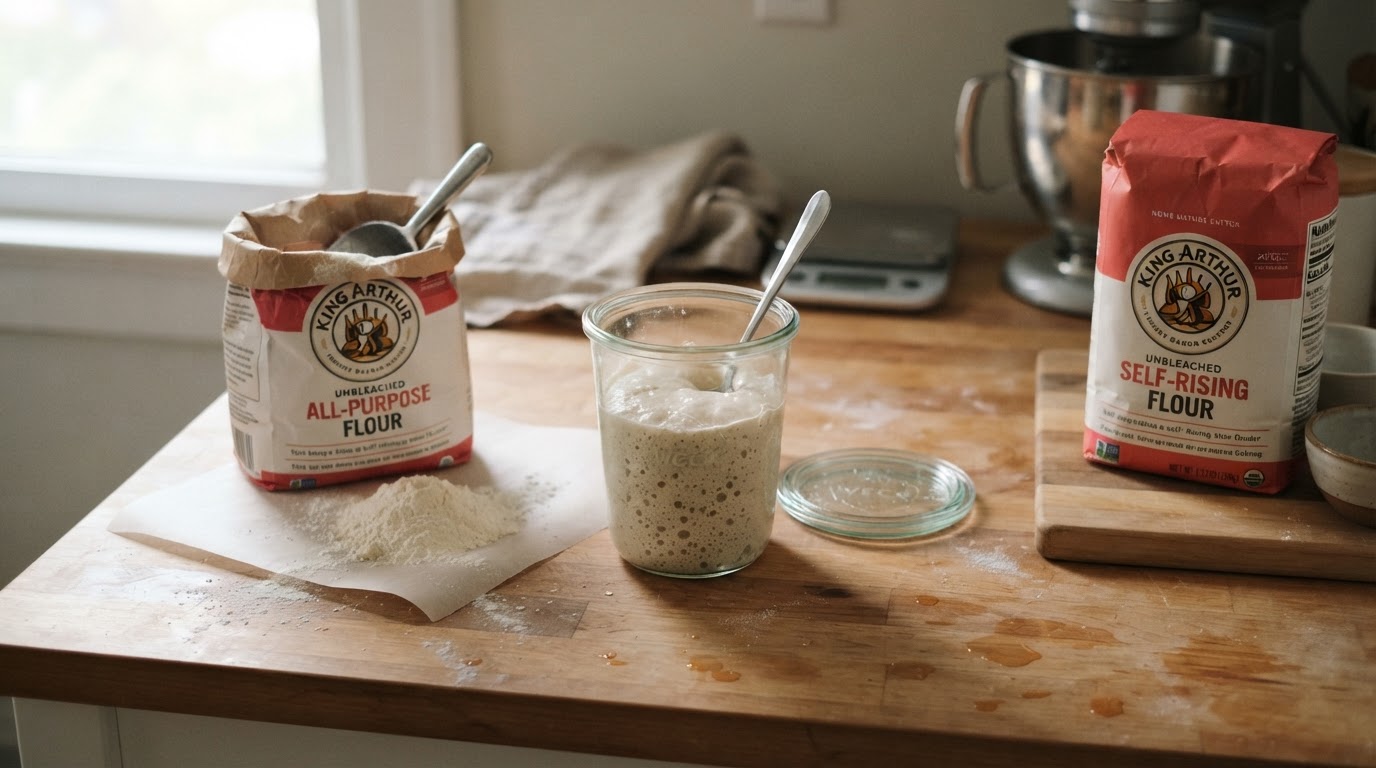
A heavy dusting leaves a dry, powdery layer. For a blistered crust, use less flour than you think you need: dust the basket or liner lightly and evenly, then shake out the excess, so the coating releases the loaf without becoming a second crust. Our guide to rice flour alternatives for a banneton explains how dusting flours sit on the surface and why a thick, caked coat can taste raw.
Small bubbles on bread surface can be encouraging, but they do not prove that the flour layer was thin enough or that your steam conditions were right. Read them as one observation among several, not a pass/fail test.
Steam: what your bakeware can safely take
A covered baker holds moisture near the loaf, which is why it appears in blistering advice. Check the exact manufacturer and oven instructions for your baker before adding moisture, including ice.
Do not put ice into hot glass or ceramic; thermal shock can crack or shatter those materials. There is also no universal water dose: a splash that is fine in a cast-iron Dutch oven is not automatically safe in a cloche, stoneware baker, or enameled pot with its own care guide.
When compatibility is unknown, skip added water: the dough carries its own moisture, and a well-fitting lid traps enough for many home loaves.
Proofing quality: judge it somewhere else
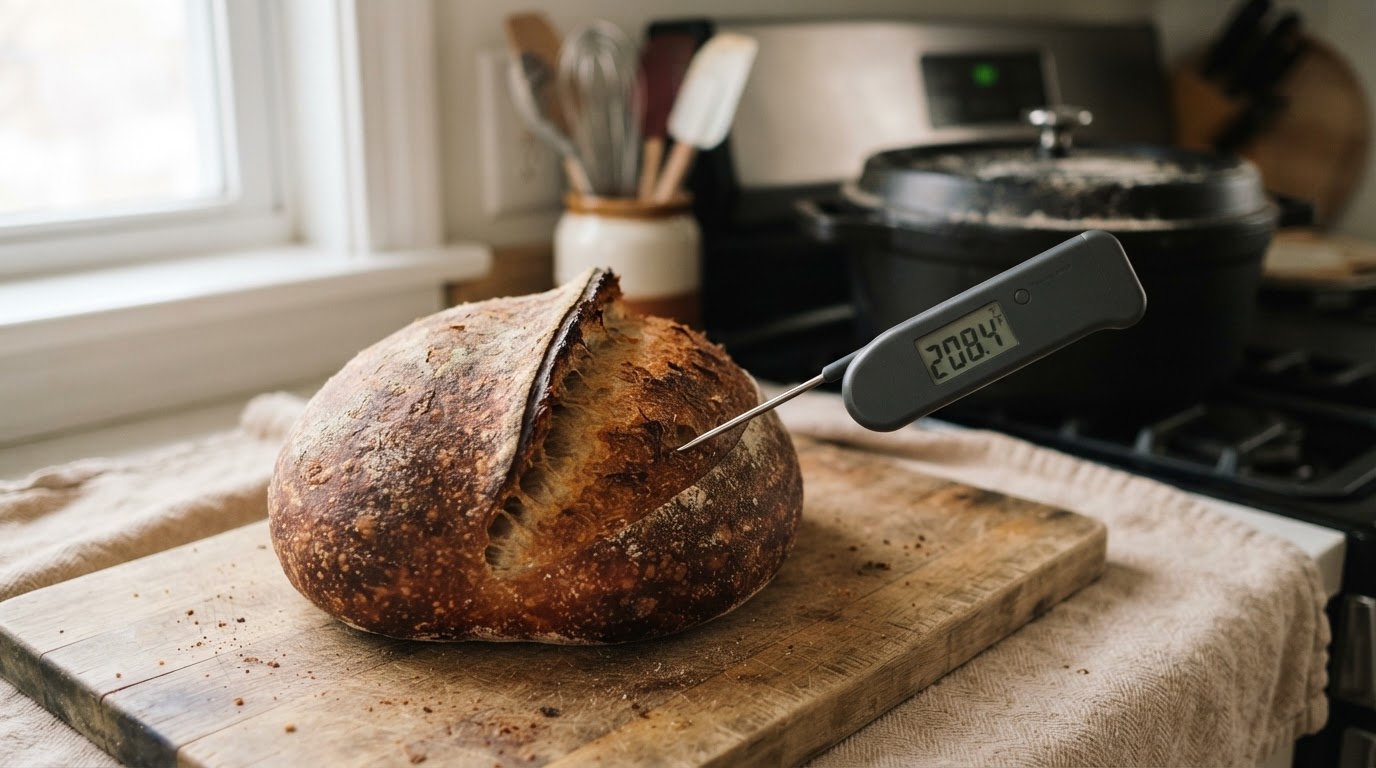
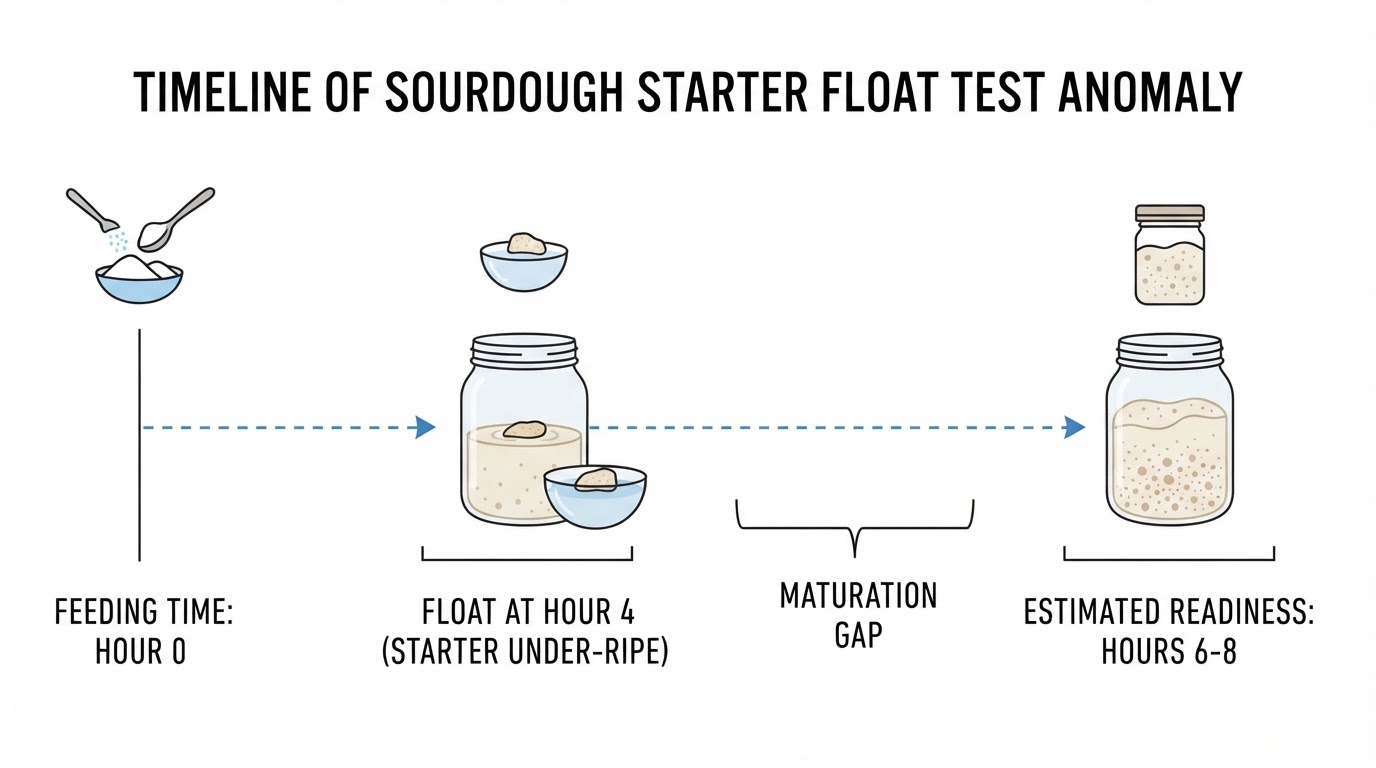
To judge proofing, read the dough and the finished loaf, not the blister count. A well-proofed loaf can still have a modest number of blisters, and a blistered crust can sit on a loaf that was slightly under- or over-proofed. Blisters alone do not diagnose proofing or fermentation.
Proofing affects more than spring: it also shapes crumb structure and flavor development, which is why one crust feature cannot stand in for a proofing check. Our guide to what sourdough crumb should look like uses the same principle: describe what you see, then test one change rather than diagnosing a whole bake from one signal.
Are blisters on sourdough good or bad? They are a sign that surface conditions favored them, but they are not a quality grade.
A quick diagnostic table: hypotheses to check
Each row is a hypothesis to check, not proof that one appearance means a steam leak or a proofing fault.
What you see after the bake | A hypothesis to check (not a diagnosis) | One change for the next bake |
|---|---|---|
A matte, flour-caked skin with few blisters | Heavy dusting flour may be sitting between the dough and the steam | Brush off excess flour, then dust more lightly next time |
A tight, dry surface with almost no shine | Surface moisture may have been low, or steam may have escaped early in the bake | Confirm the lid fits; stay covered for the phase your recipe specifies |
A smooth, shiny crust with a few isolated bubbles | Some steam may have reached the surface, but that does not prove the flour layer or the steam was correct | Change only the dusting amount or the covered-bake moisture, not both |
Plan one change for the next bake
If you want more bubbles in sourdough bread, treat the next bake as a comparison, not a rescue mission. Pick one variable: the dusting, the covered-baker setup, or the proof. Keep the recipe, flour, and bake temperature the same.
Write down what you changed and what you saw: dusting amount, baker used, whether you added moisture, covered time, and a sentence on the cooled crust.
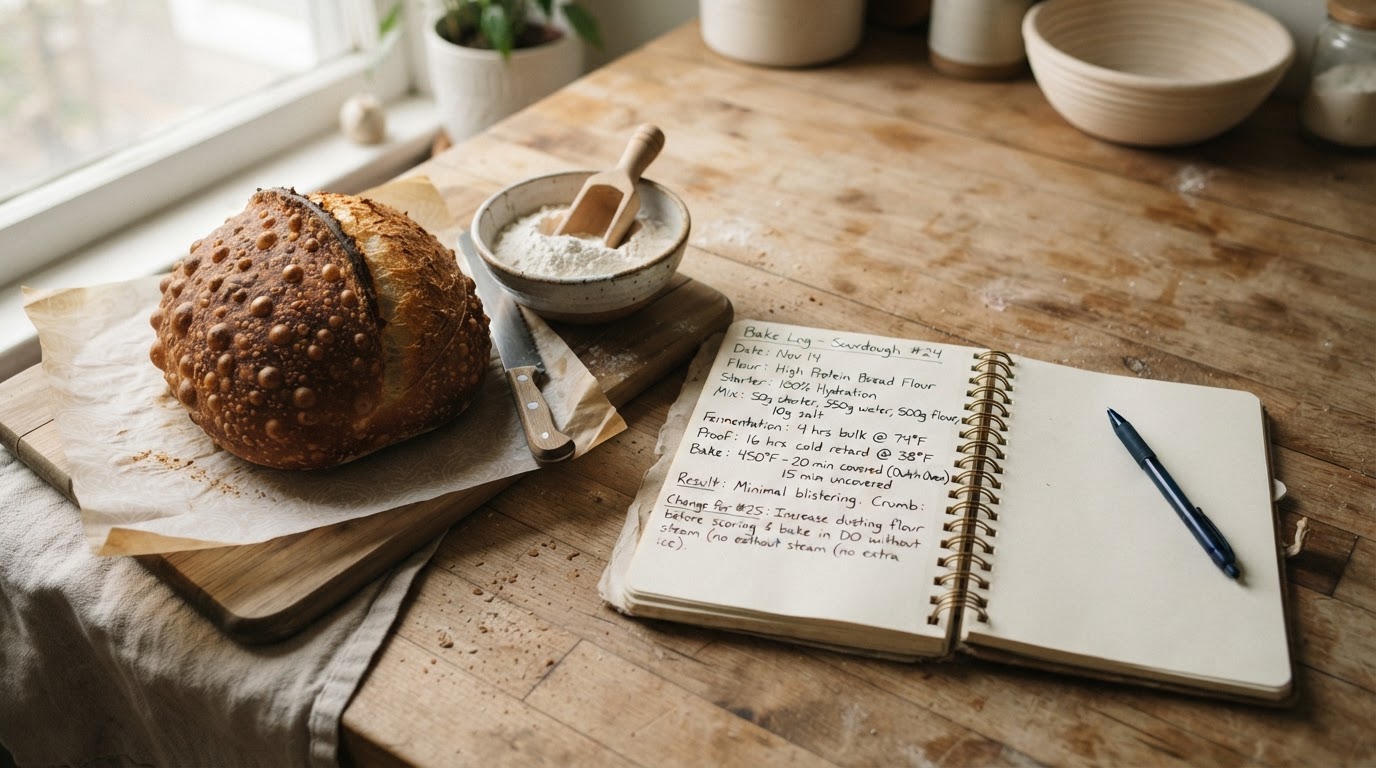
Finish by naming the single change you made and whether blistering looked different. That does not claim a proven cause; if your bakeware forbids added moisture, keep the no-water version as the baseline and test only the dusting.
What not to conclude
A blister is not a certificate. Do not treat a blistered crust as evidence that your fermentation was correct, and do not chase a specific number or size of bubbles. These maker tips do not settle the exact mechanism, so treat what you see as a hypothesis. Make the next bake informative instead: change one thing, record what happened, and let the crust tell you about the surface you gave it.